
Category: 3D Scanning
Categories
3D Scanning Workflow
3D scanners are useful tools for professionals in a number of applications, including reverse engineering, ensuring part fit within existing designs, inspections, digitizing historical artifacts, and scanning of faces for dental and orthodontic applications.
In this guide you will learn the 3D scanning process from start to finish using Shining3D’s new handheld EinScan HX 3D scanner.
Required Tools & Materials
(x1) EinScan 3D Scanner
Other Required Components
- (x1) A computer capable of running the software
- Win 10, 64bit
- NVIDIA GTX1080 and higher
- 4G of Video Memory
- Processor:I7-8700
- 32GM of Memory
- 960 Cuda Cores (1000+ recommended)
- (x1) of the Recommended Scanning Softwares
- Geomagics Essentials
- Solid Edge
- Calibration Board and 3D Scanner Targets
- Putty or Plah-Doh
- 3D Scanning Spray or Powder
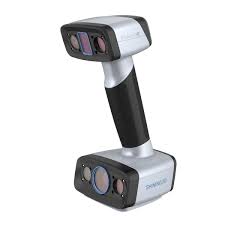
EinScan HX
The EinScan HX Reverse Engineering Design Bundle provides hybrid blue laser and LED light scanning, providing a solution for surfaces that are difficult to scan with traditional white LED technology.
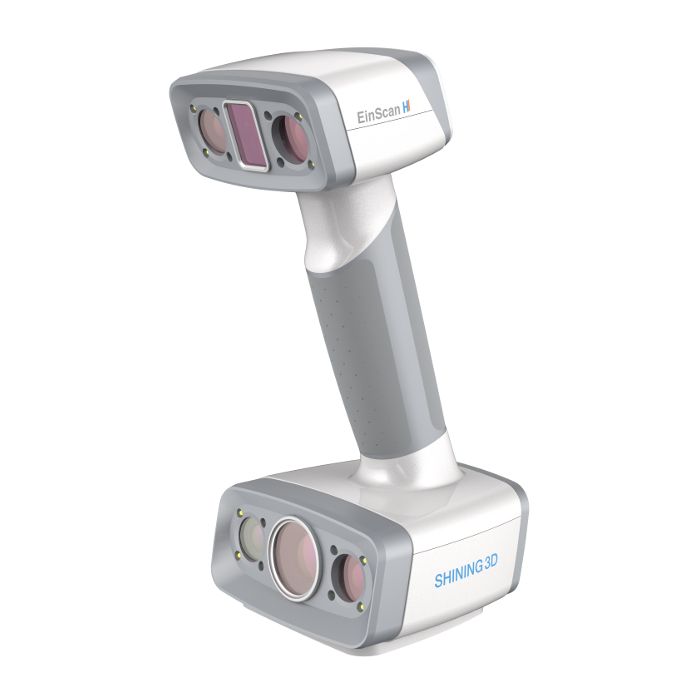
EinScan H
The EinScan H provides hybrid infrared and LED light scanning for scanning hair (normally not possible with previous scanning technology) and a wider range of object size compatibility.
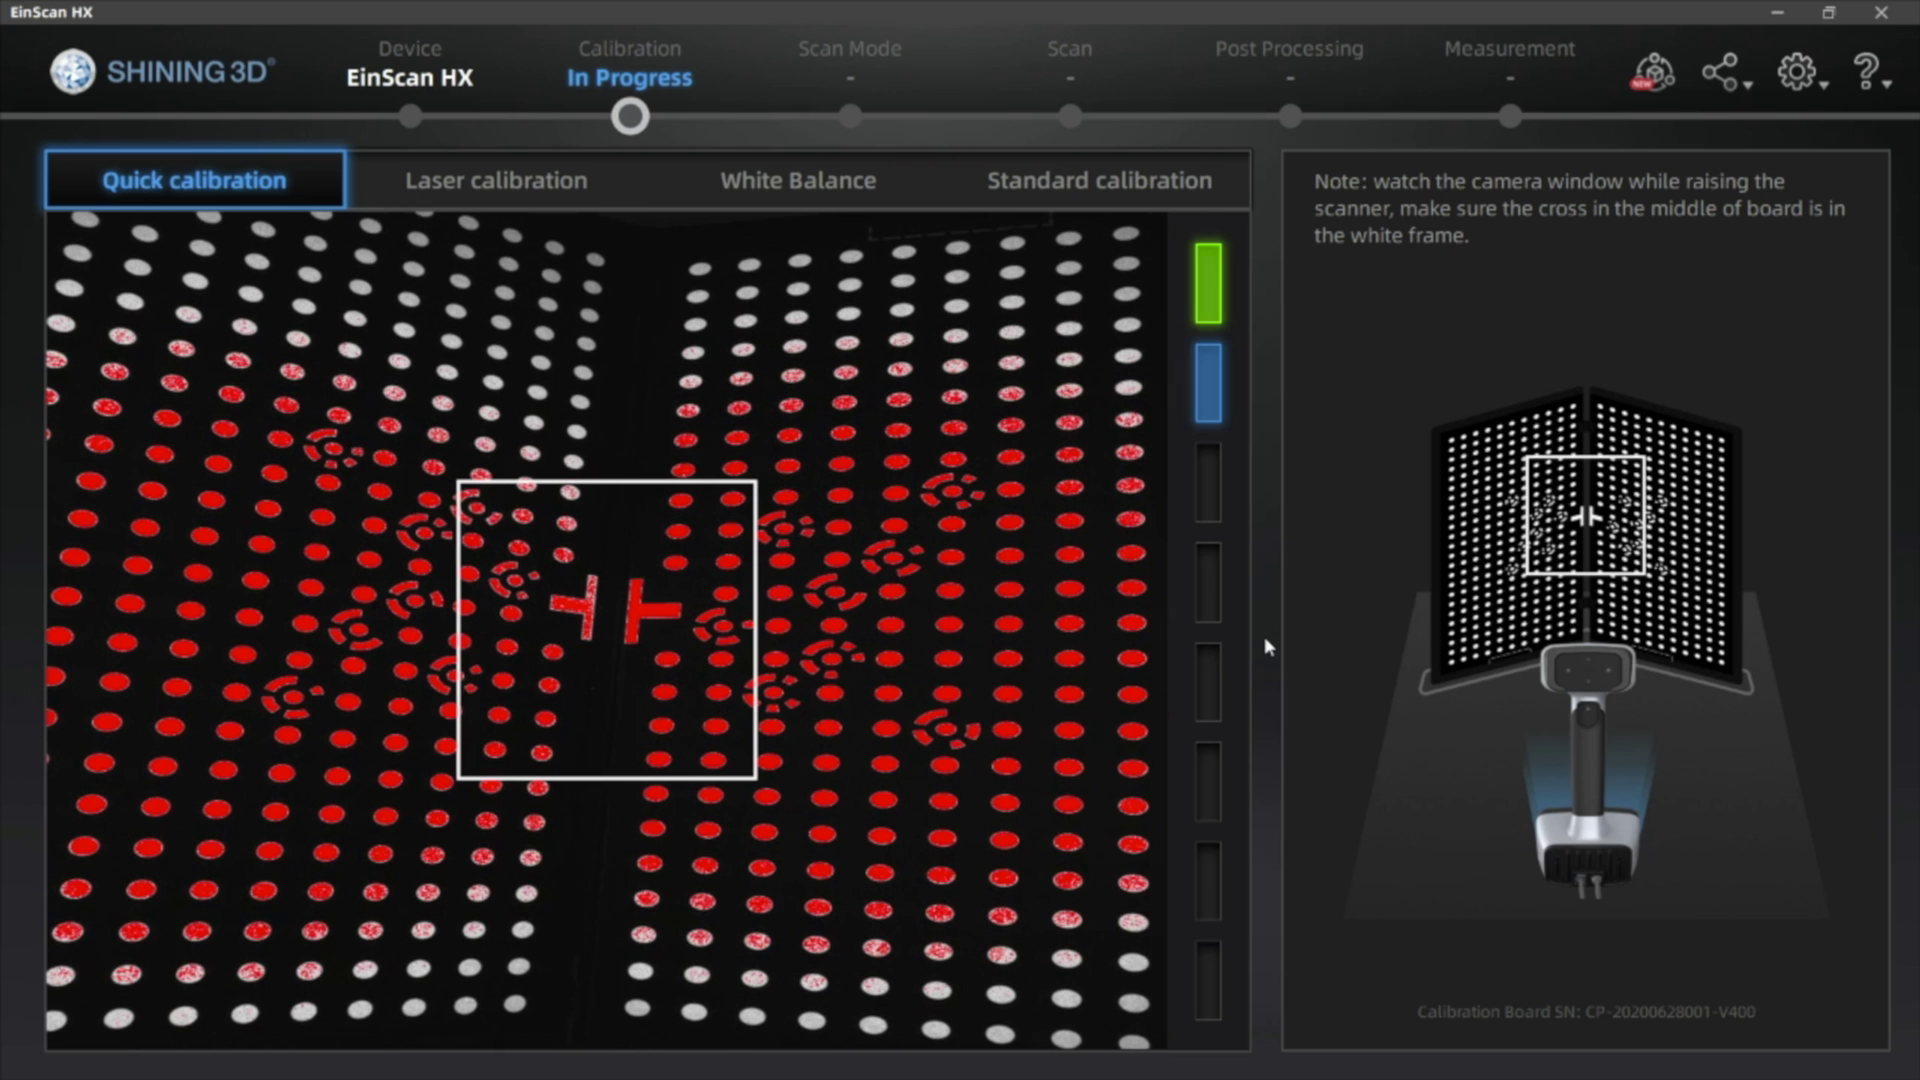
1. Calibrate the Scanner (If Required)
The EinScan scanners require calibration before their first use, as well as after each software update. If calibration is necessary, use your included calibration board and follow the calibration directions as outlined in the software.
2. Model Preparation
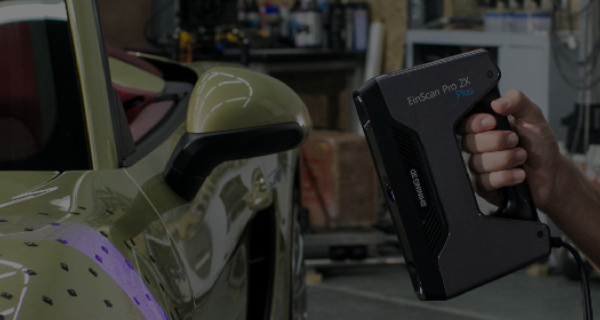
The HX has two scan modes, Rapid Scan and Laser Scan. Rapid scan will need minimal model preparation and will work for most parts, while the laser mode will be best for more accurate results and/or models with darker or shinier surfaces. To begin, we are going to place targets on the model. These targets are used when parts have minimal features or large smooth faces that lack features for the scanner to align itself to. Parts with repetitive features or patterns may confuse the scanner and will require targets placed randomly to help alignment.
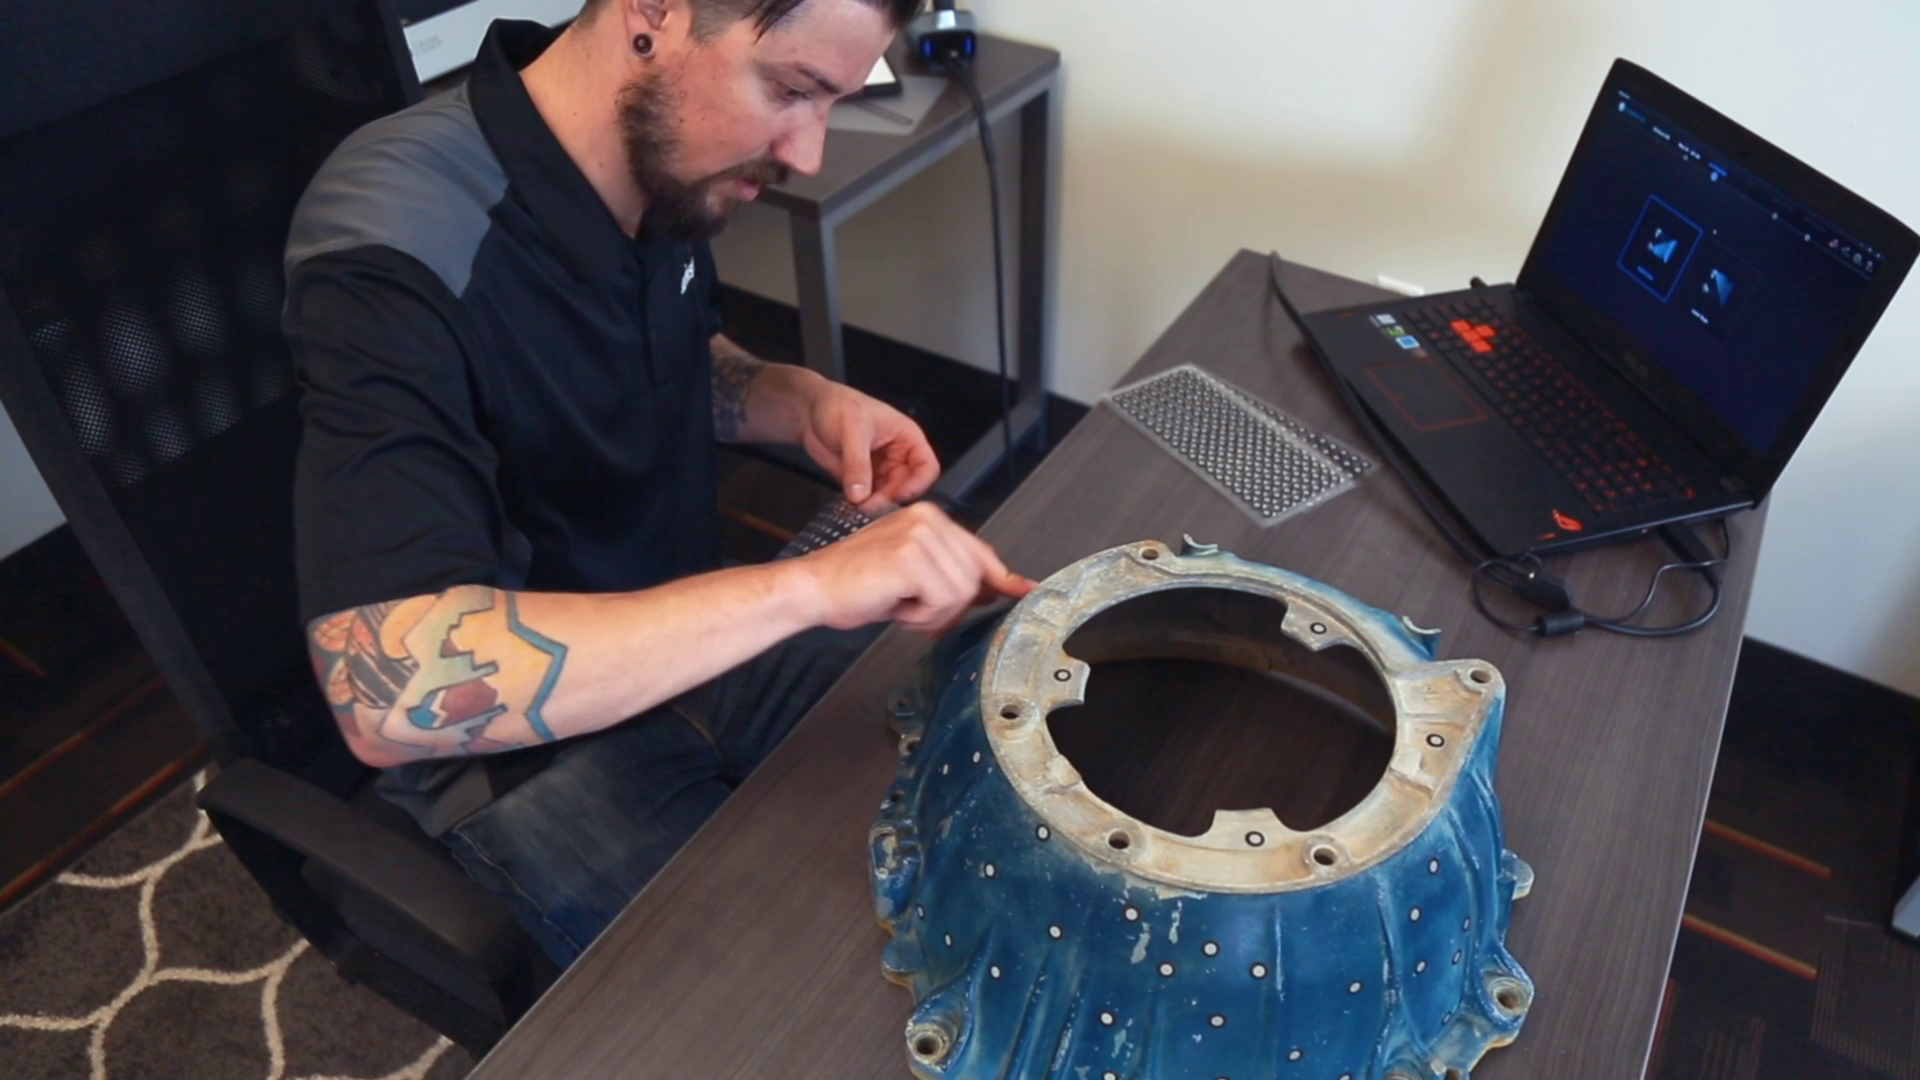
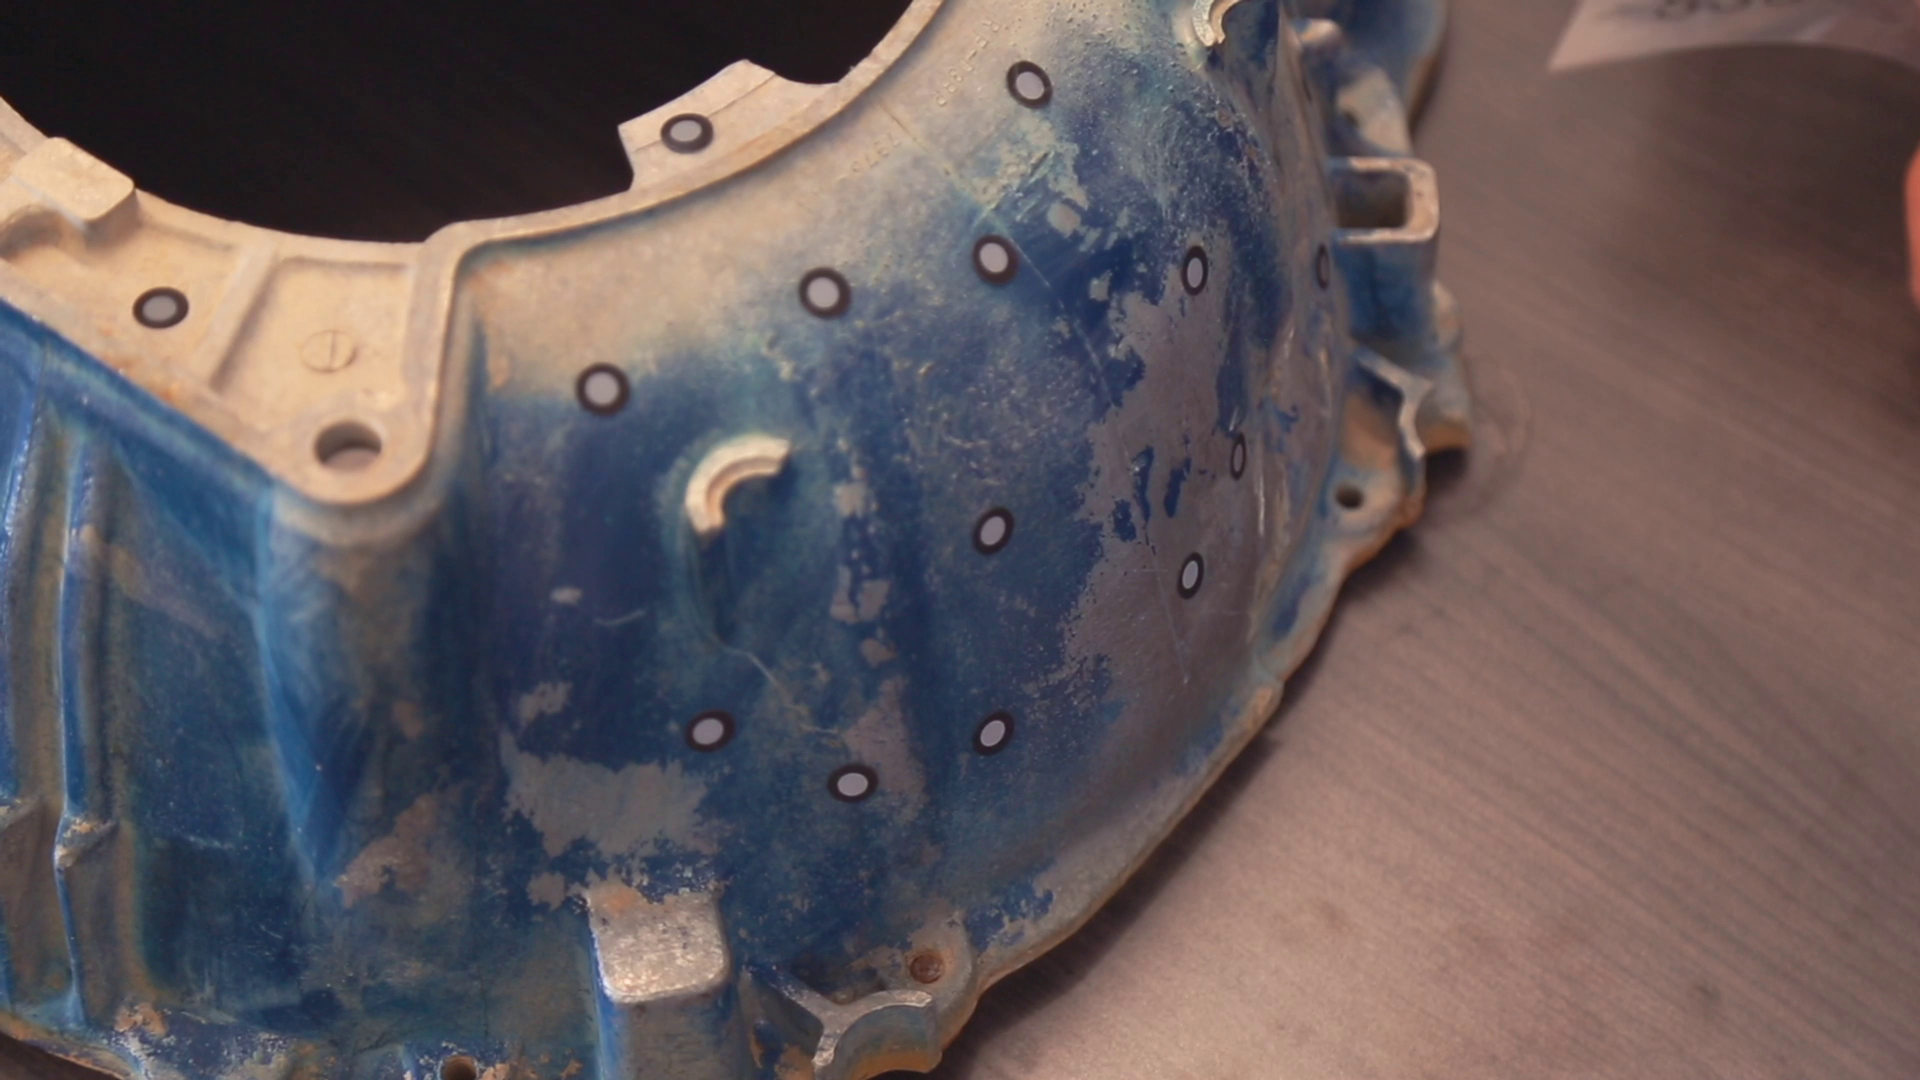
- To place the targets, all you’ll need to do is place them 2-6 inches apart in a random fashion.
- A little trick here, you can also place targets on a table or board and place your object on it. The scanner will use these as reference points, achieving the same goal as placing them on the model without covering some of the details on the part.
Next, if your model has any shiny, dark, or translucent features you will need to dull them so that they can scan properly. We’re using the HX which is great for shiny and dark materials, and as a result doesn’t really any additional surface treatment.
- There’s a number of products you can use here including baby powder, spray paint, and specialized sprays that disappear after a few minutes. You can find recommendations in the link below. To coat the part, all you’ll need to do is apply a small film to your model, just enough to dull the surface and that’s it!
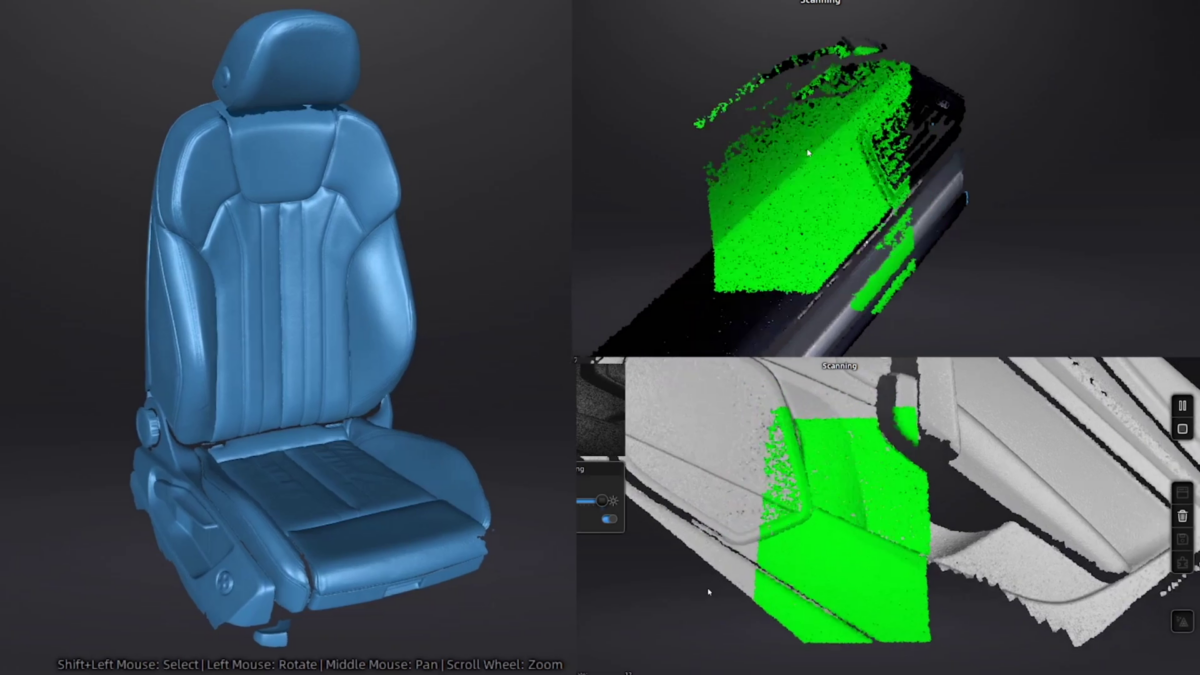
2. Scanning

For best results, avoid very bright rooms or having the scanner directly facing a light source.
- Start by clicking the play button to begin previewing and adjust brightness based on your environment.
- Use the indicator lights to maintain an optimal scanning distance. When you’re at the ideal distance, the indicator on the back of the scanner and in the software will both be green. If you go too far, the light and software will be blue and the software will make a noise. If you get too close, the indicator lights will turn red, also signaled by a noise.
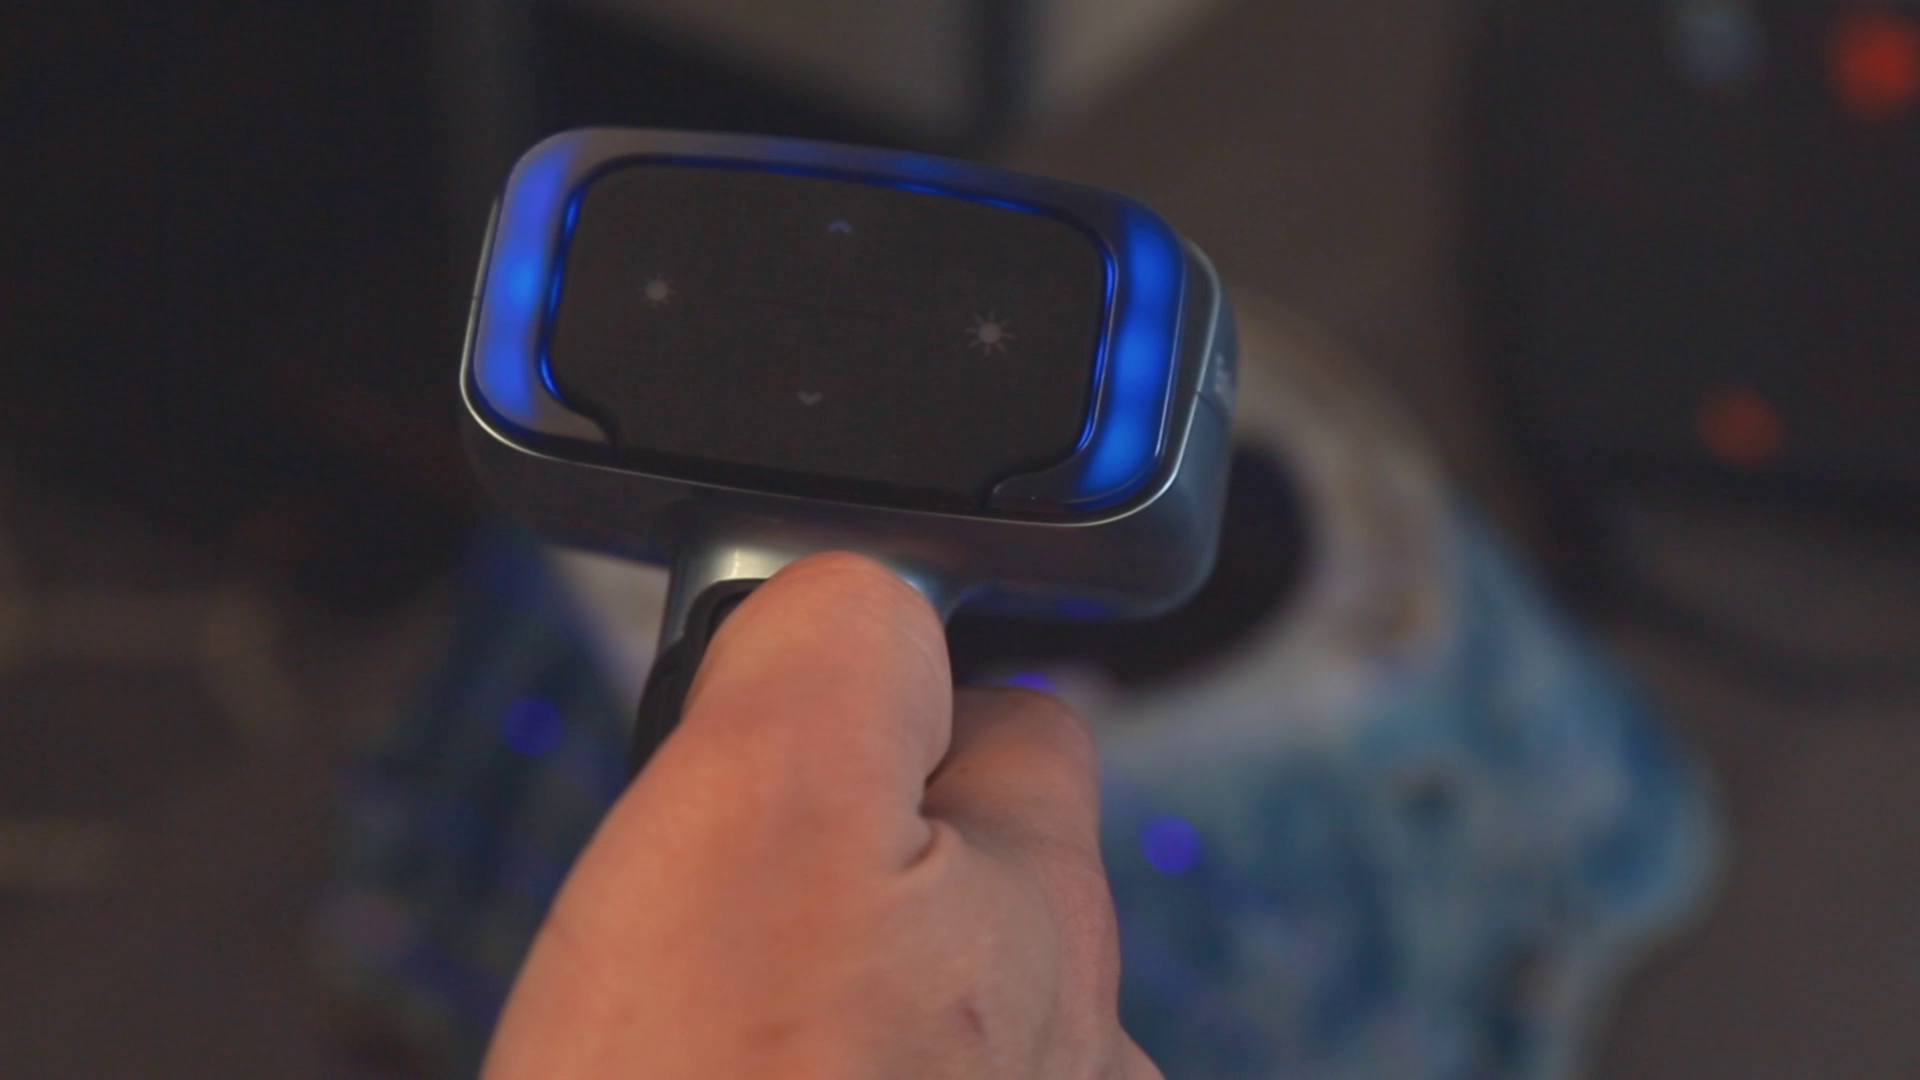
The blue light indicates you’re too far away from the object for proper scanning.
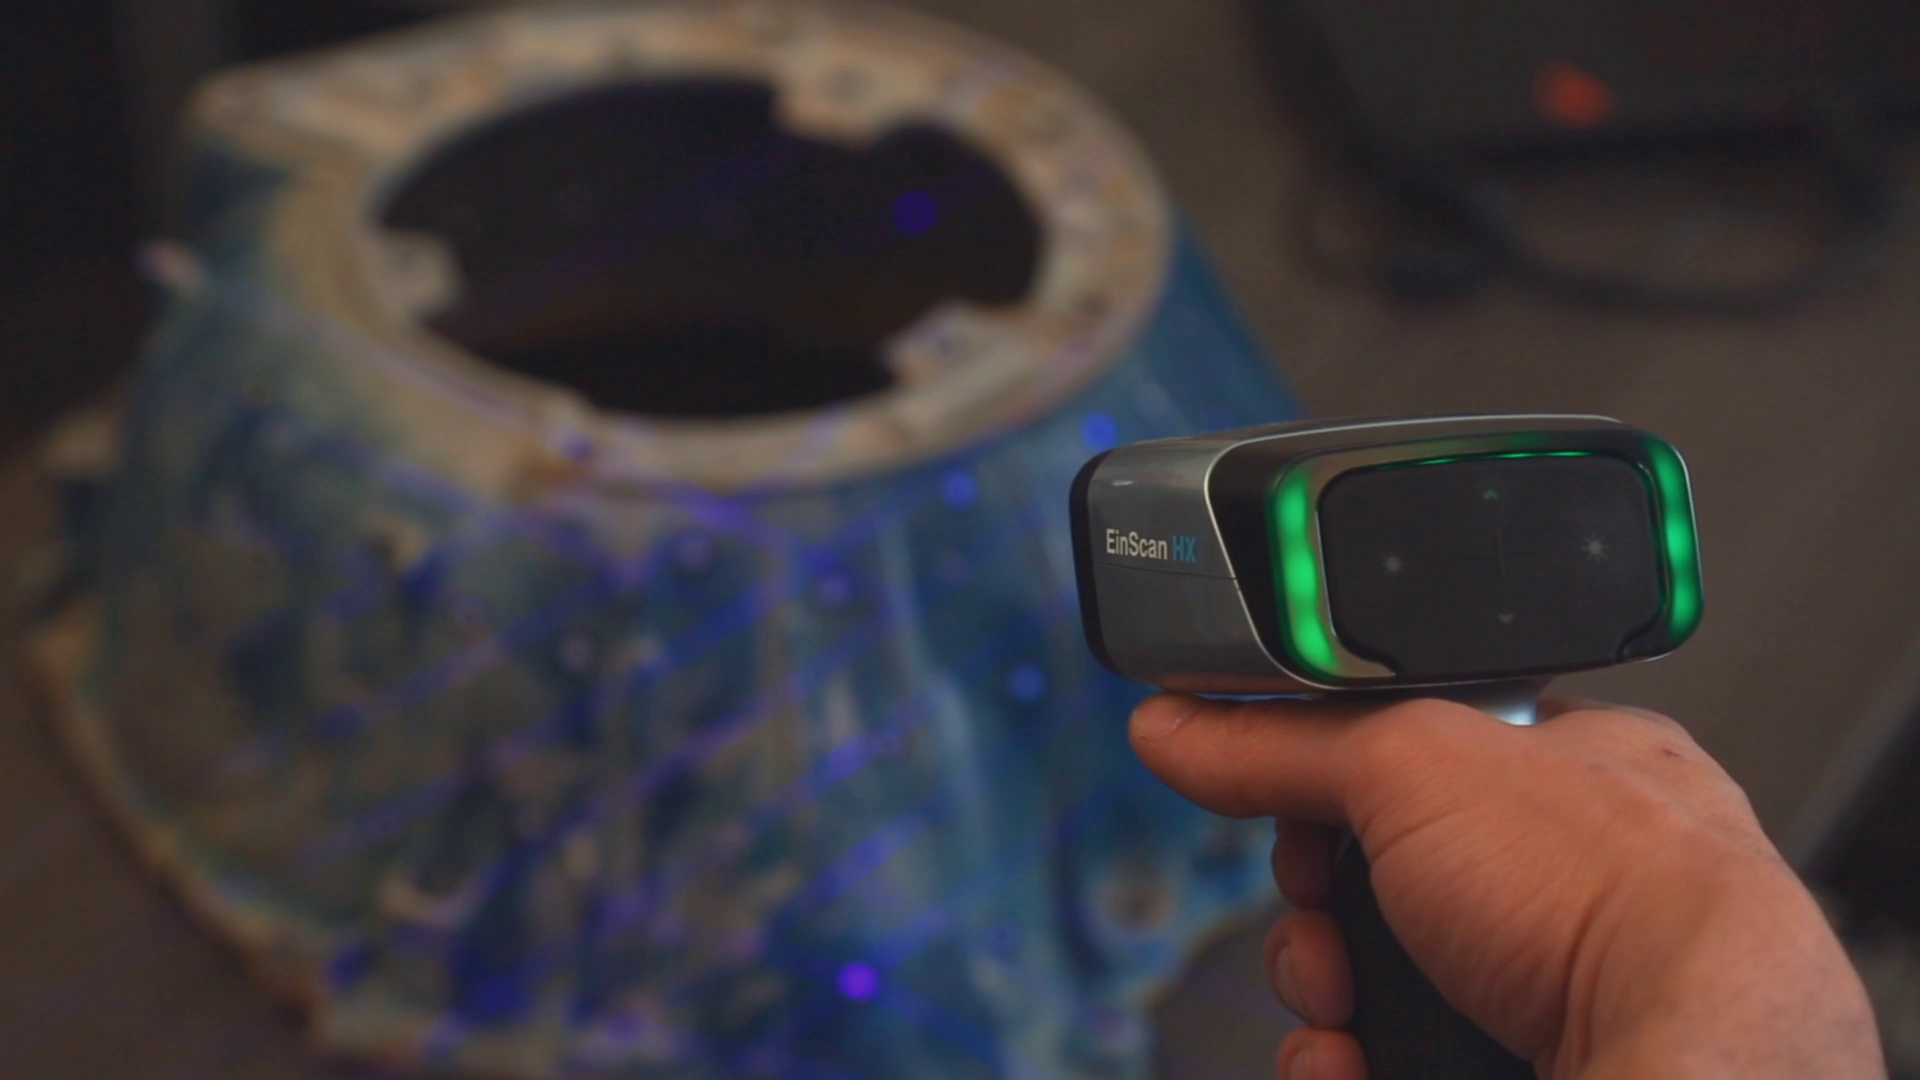
Green is good! You’re right in the sweet spot regarding distance.
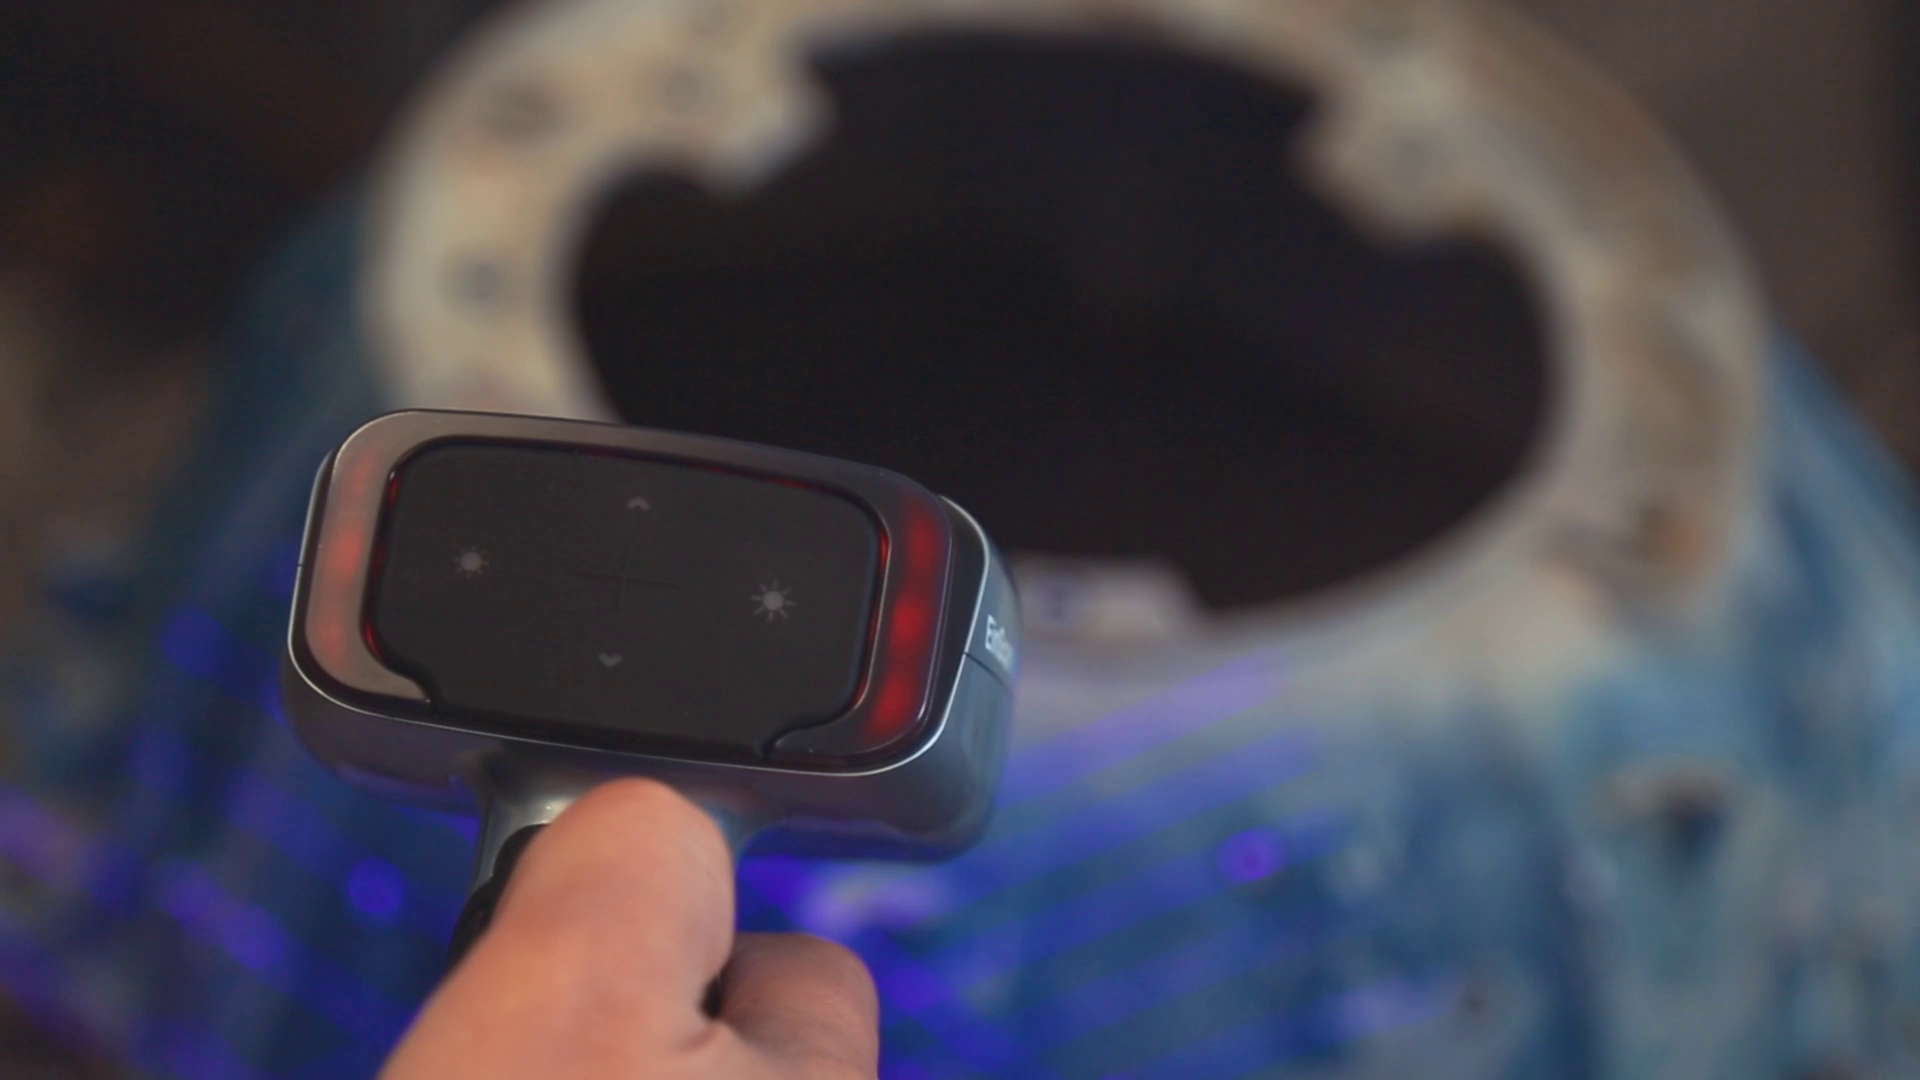
The red light indicates you’re too close to accurately scan the object.
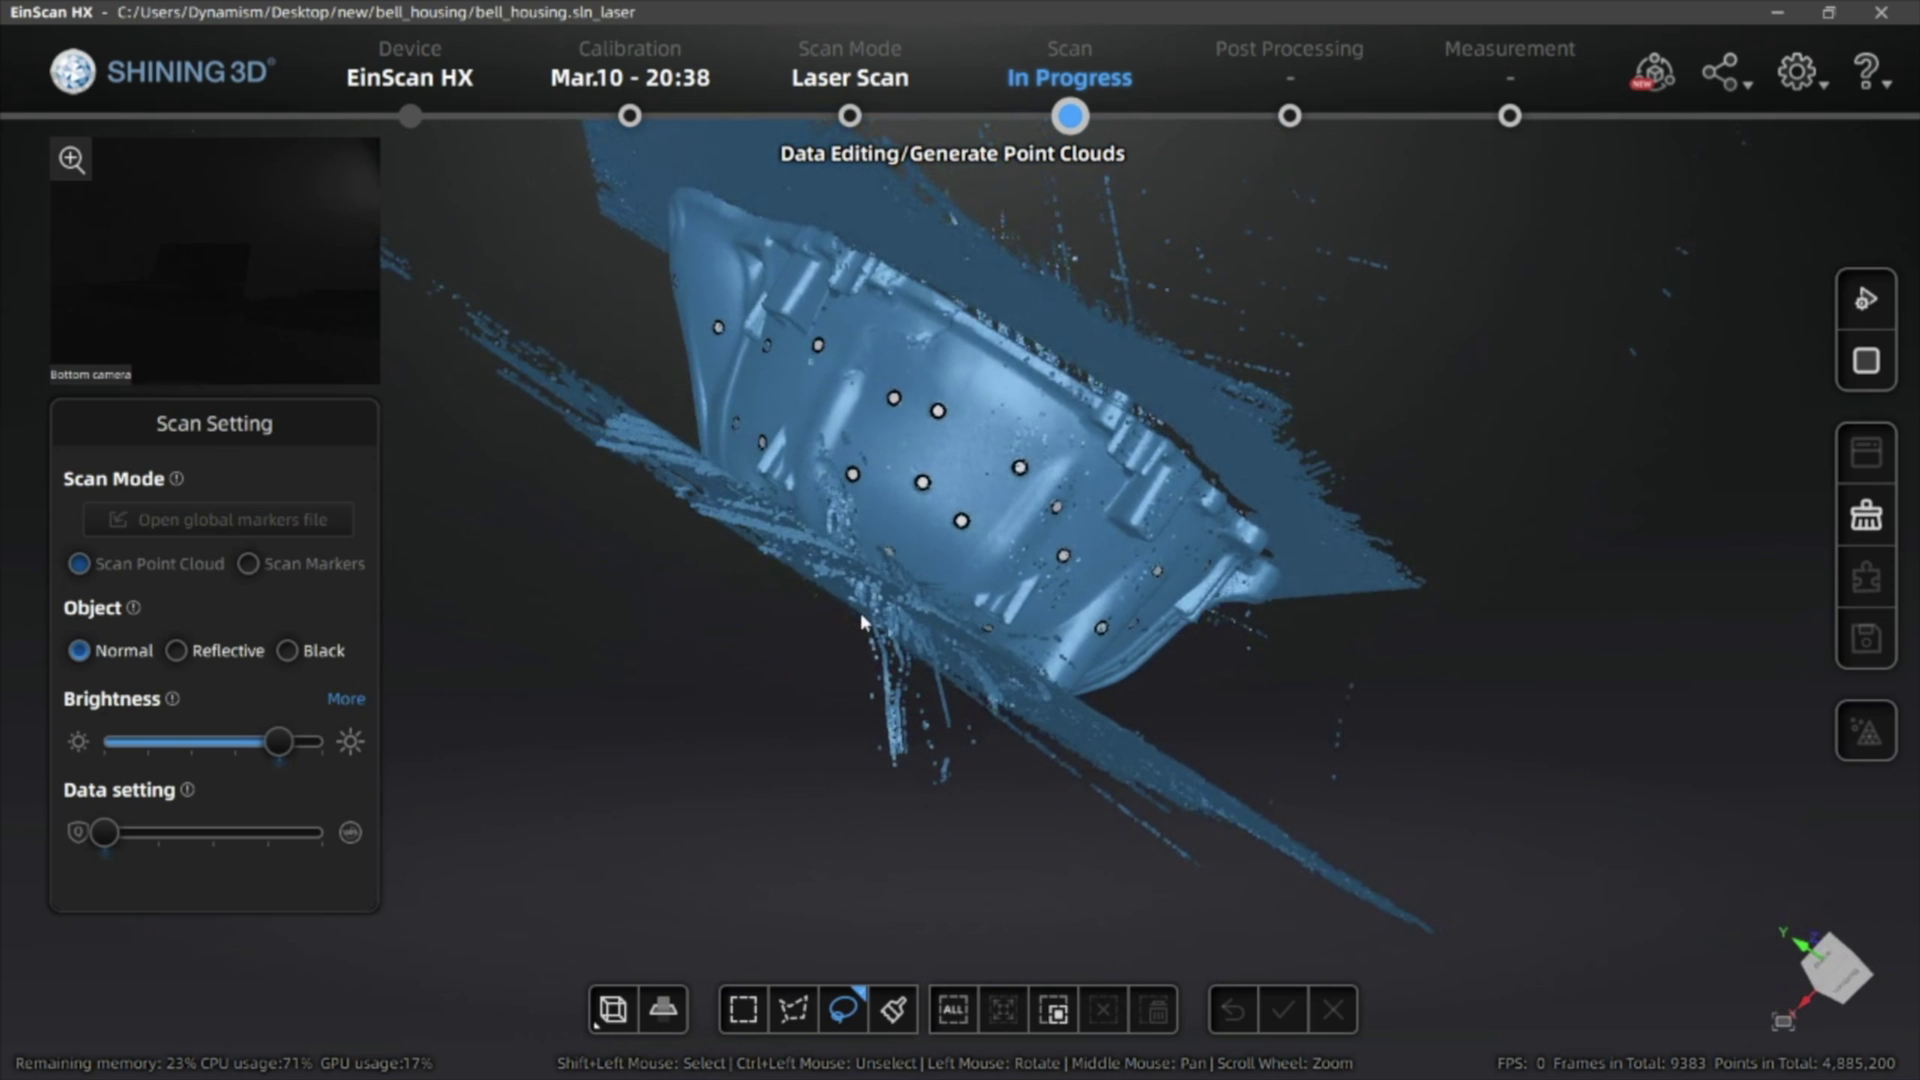
- Now, click the play button again to begin scanning. Move the scanner around the object, rotating to help capture different angles. If you need to turn the object, pause the scanner and move it to a better position before resuming.
Once you have scanned your object and generated the point cloud data, you can then generate the mesh of your 3D scan. If you’re planning on using scan data for reverse engineering or QC you can export a non-watertight mesh, however for 3D printing you’ll need to make sure you get a watertight model for optimal results.
3. Mesh Cleanup
After you get your mesh data, there are a few different tools that available to help get your 3D model ready to be used.
- First, you can select and delete data that you don’t need (much like in the other steps in the scanning process).
- If the model is not watertight, or you deleted portions of your watertight model, you can also fill the holes manually by selecting each one, or automatically if there are too many to select individually.
- Another useful tool is the ability to simplify the object, which is great for reducing the file size while still keeping most of the part quality. You can usually reduce the file by 40-60% without affecting the surface quality of your scan, and it’ll help a lot when you import this 3D model into another program or share it with others.

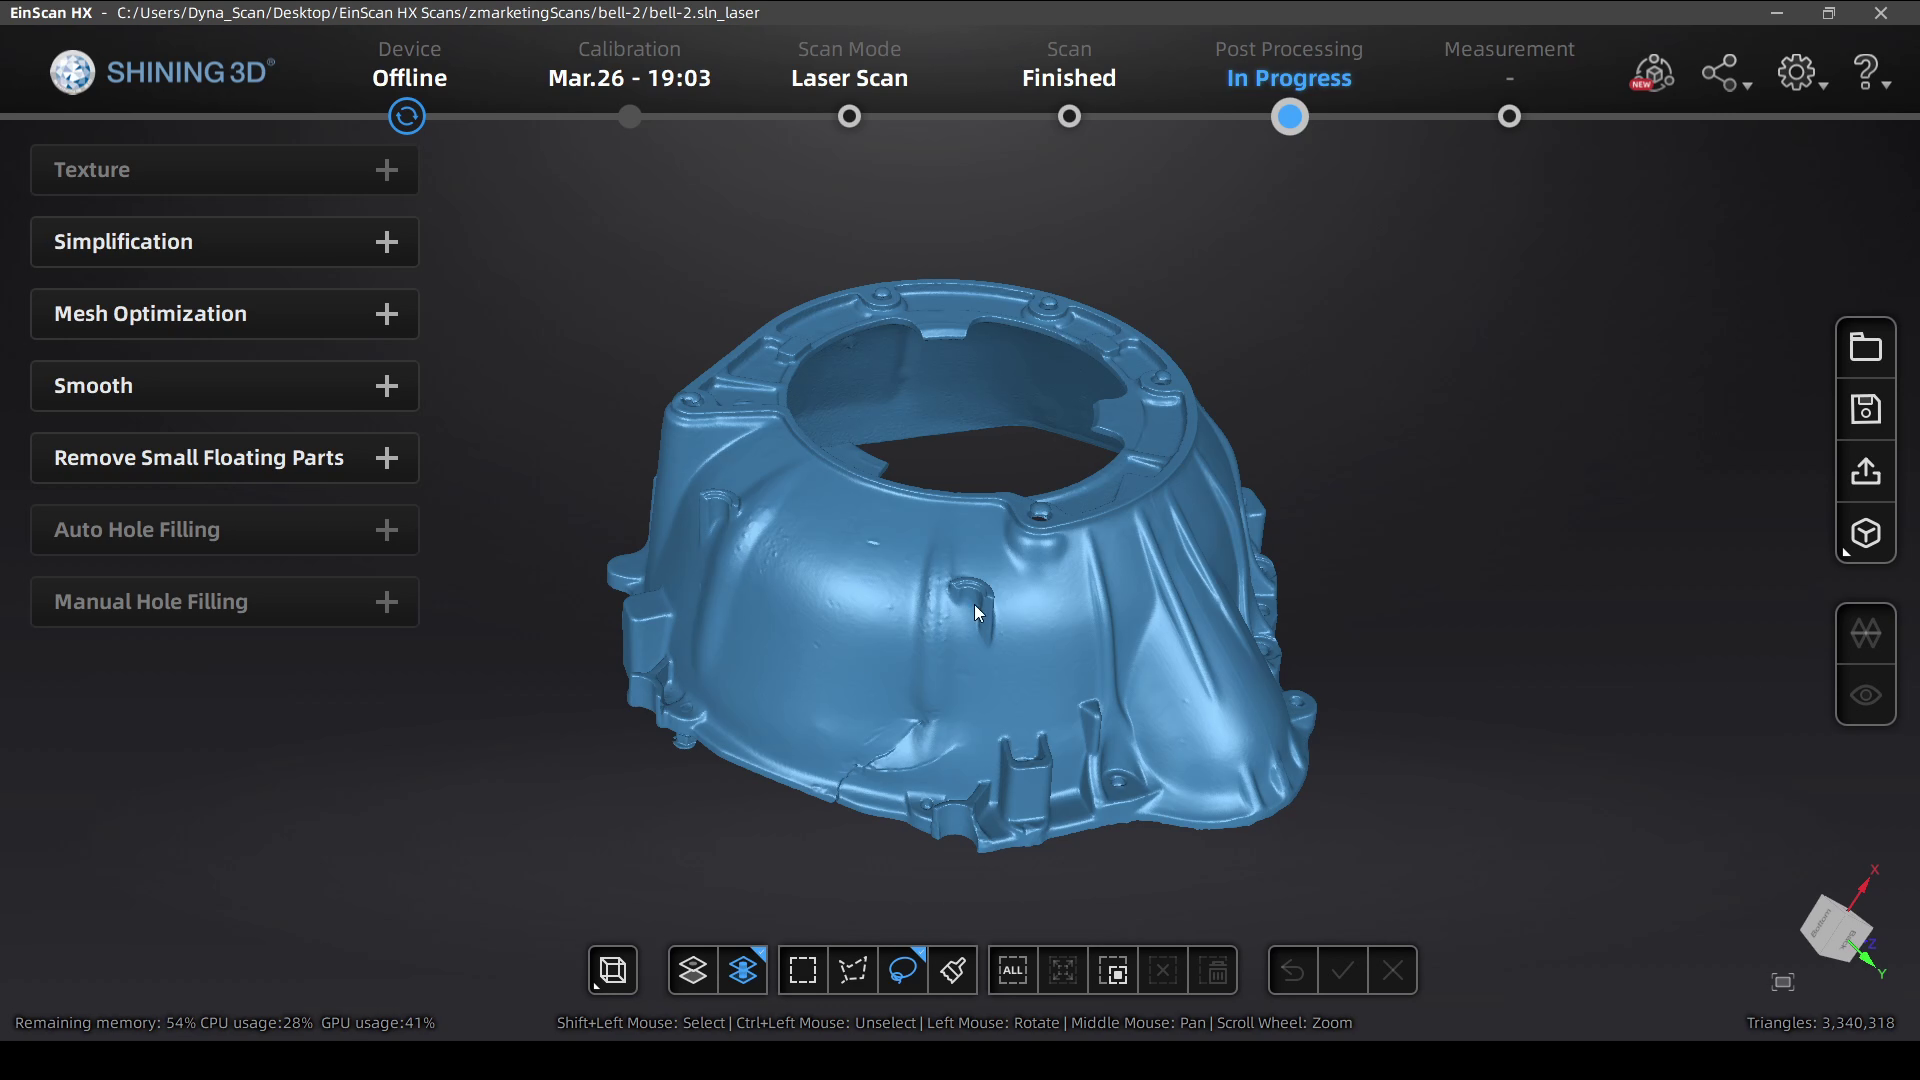
After you’re done with your edits, the mesh files can be exported as an STL, OBJ, 3MF, or PLY file for use in your reverse engineering process, measuring/QC workflow, or to send straight to your slicing software to 3D print!
Watch Our Video Overview Below
Get the Tools Seen in This Tutorial:

EinScan HX
The HX is the best industrial scanner thanks to it’s specialized blue LED rapid scan mode and high accuracy Laser Scan mode leveraging tracking dots for best accuracy.
EinScan H
The Einscan H uses Infrared technology which is ideal for scanning non-reflective surfaces and capturing details in hard to scan objects like hair.
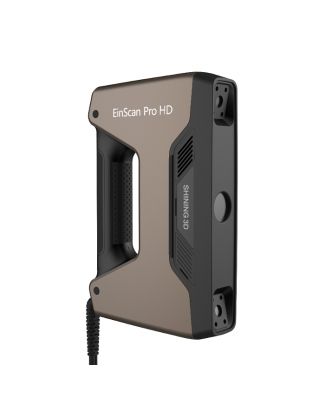
EinScan Pro HD
The Pro HD has a special blue LED light which helps at scanning slightly reflective or darker objects. An additional Color Pack camera can be added for full color scanning.
Categories
How to Choose the Right 3D Scanner
Choosing The Right Handheld 3D Scanner
Whether you’re looking to reverse engineer products, ensure parts fit an assembly, or simply digitizing a part, choosing the right tool for the job is important. In this guidebook we cover all the 3D scanning basics you need to know including:
- Accuracy & Resolution
- Scan Size & Speed
- Light Source
- EinScan Product Comparison
- More…