How to 3D Print Molds for Carbon Fiber Parts
Create Molds Suitable for Ambient Cure Processes Including Wet-Lay-Up, Vacuum Bagging, and Resin Infusion.
Introduction
In this tutorial, we skip the process of using a pattern to create a mold and directly create a mold using 3D printing. This tutorial is a bare-bones carbon fiber process meant for those without the specialized equipment needed for more technical processes and high-temperature epoxies.
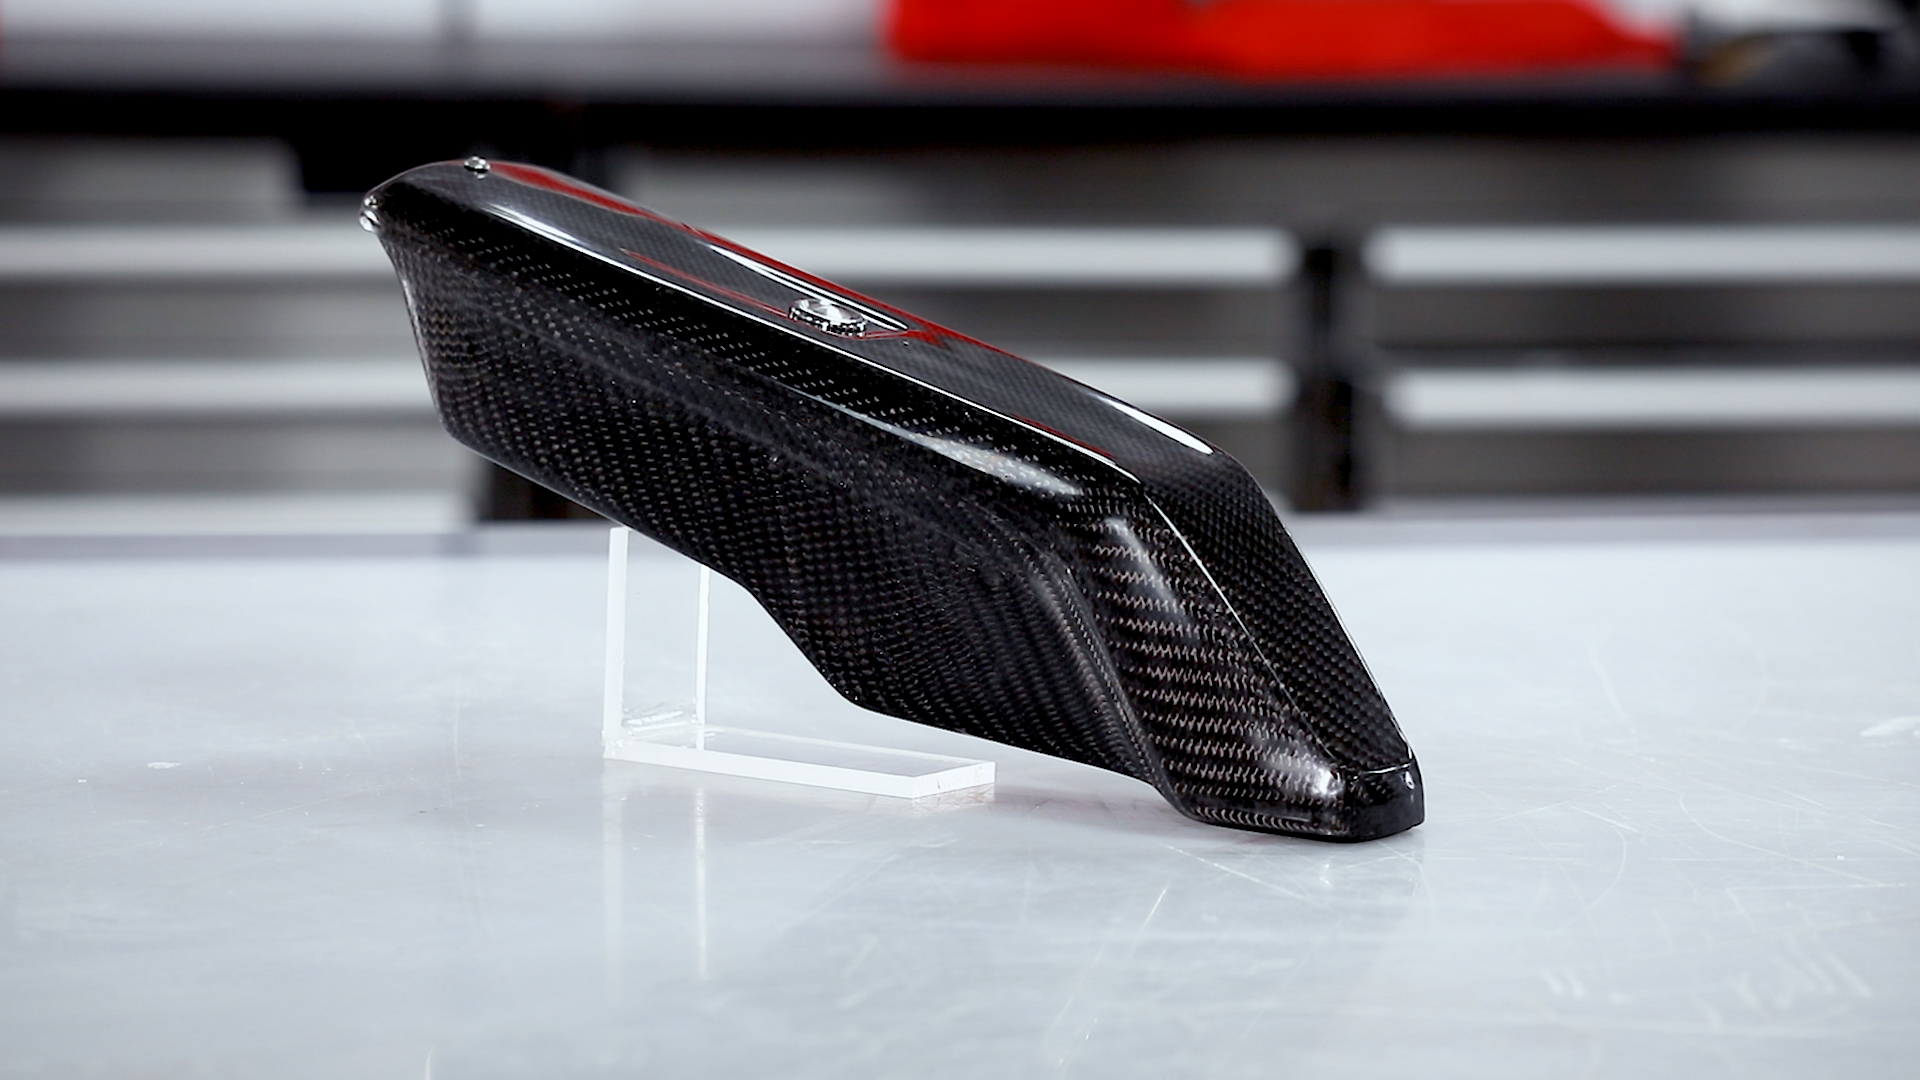
We will be taking a FFF print with the barriers already modeled and release-coating it before manufacturing the carbon fiber part using a simple hand layup process. Non-cosmetic parts can be used directly from the mold, however, the surface will be slightly compromised by the resolution of the 3D print and limitations of a hand layup process. To bring the finish up to a perfect standard the part can be coated in XCR coating resin and flatted and polished to a high-quality finish.
Material Compatibility
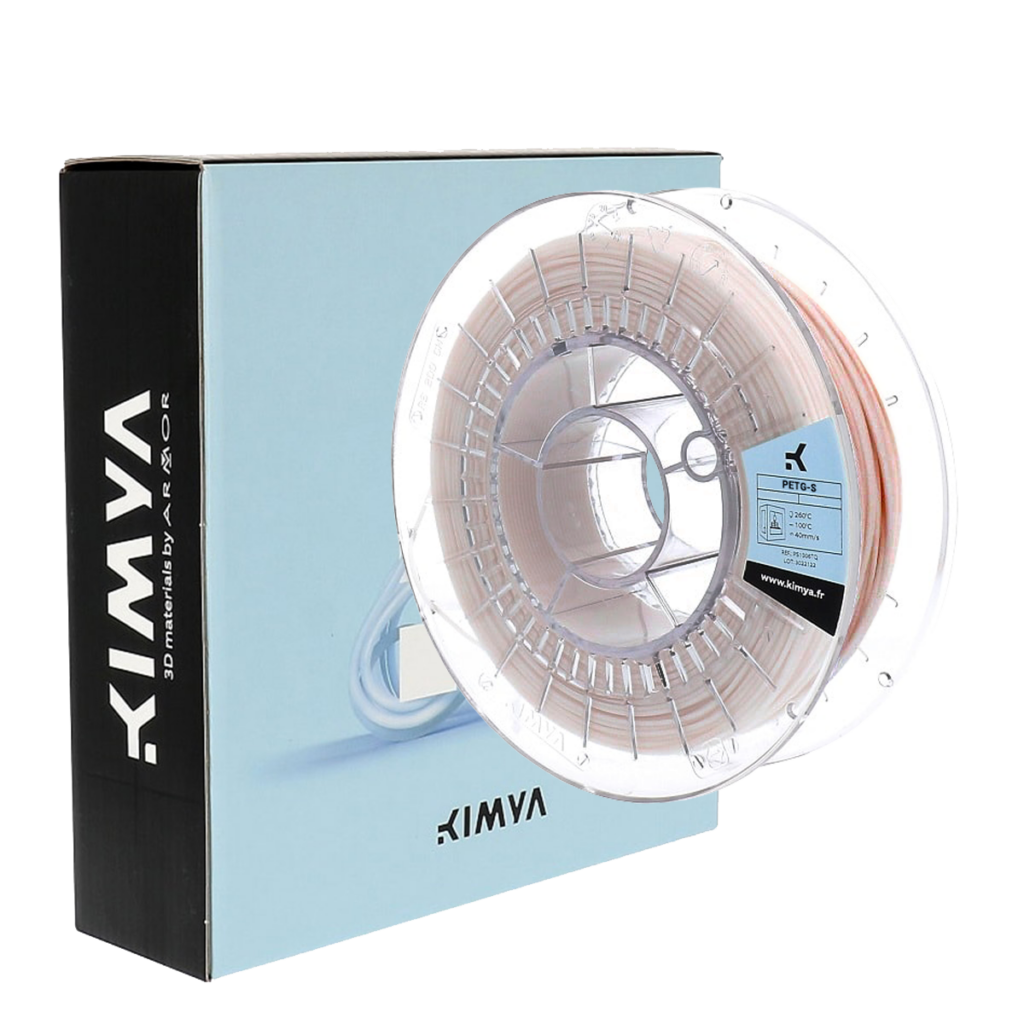
PET-G filament is highly recommended due to its good release properties with the epoxy resin. ABS should be avoided as a direct mold material as you may find if difficult to get a good release from epoxy resin.
After 3D printing, the mold should be prepared with a release agent. The most reliable release agent for this process is PVA release agent, as it helps to smooth out layer-lines while providing a reliable release from the epoxy resin.
The resulting mold from this process will work with most conventional resin systems, such as epoxy polyester and vinylester. Generally molds made in this way are best suited to hand layup processing (with or without a vacuum bag). It would also be possible to process using resin infusion but due to 3D prints generally not being 100% airtight, an envelope bagging method may have to be used. Molds made with this process are not suitable for elevated temperature cures, as used in prepreg production, even when the HDT of the PETG is not theoretically exceeded, we have found the stress of the vacuum bag will lead to excessive warping and distortion.
Materials & Equipment Needed
- 3D Printed Part – For this tutorial, we use the Ultimaker S5 which is an affordable, end-to-end 3D printer with hundreds of ready-to-print materials.
- PETG Filament
- PVA Release Agent
- XC110 210g 2×2 Prepreg Carbon Fiber: We are using three plies in this project but any dry composite reinforcement can be used.
- EL2 Laminating Epoxy: Which is specifically designed for wet layup processing and offers excellent strength and wet-out performance. The back of the part is then finished with our Economy Peel-Ply which provides a neat inner surface.
- XCR Coating & NW1 Polishing Compound (optional): Use these to post-process your carbon fiber part, providing a better cosmetic finish on your end product.
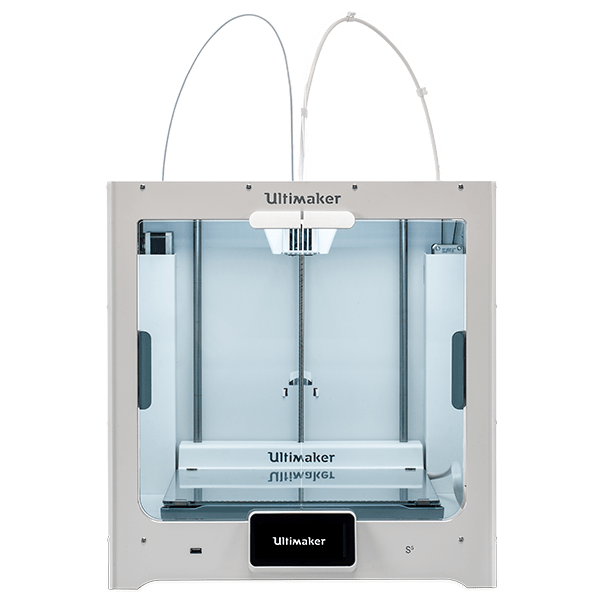
Ultimaker S5
A large, easy-to-use 3D printer with massive, ready-to-print material ecosystem.
The Process
1. Create the Print
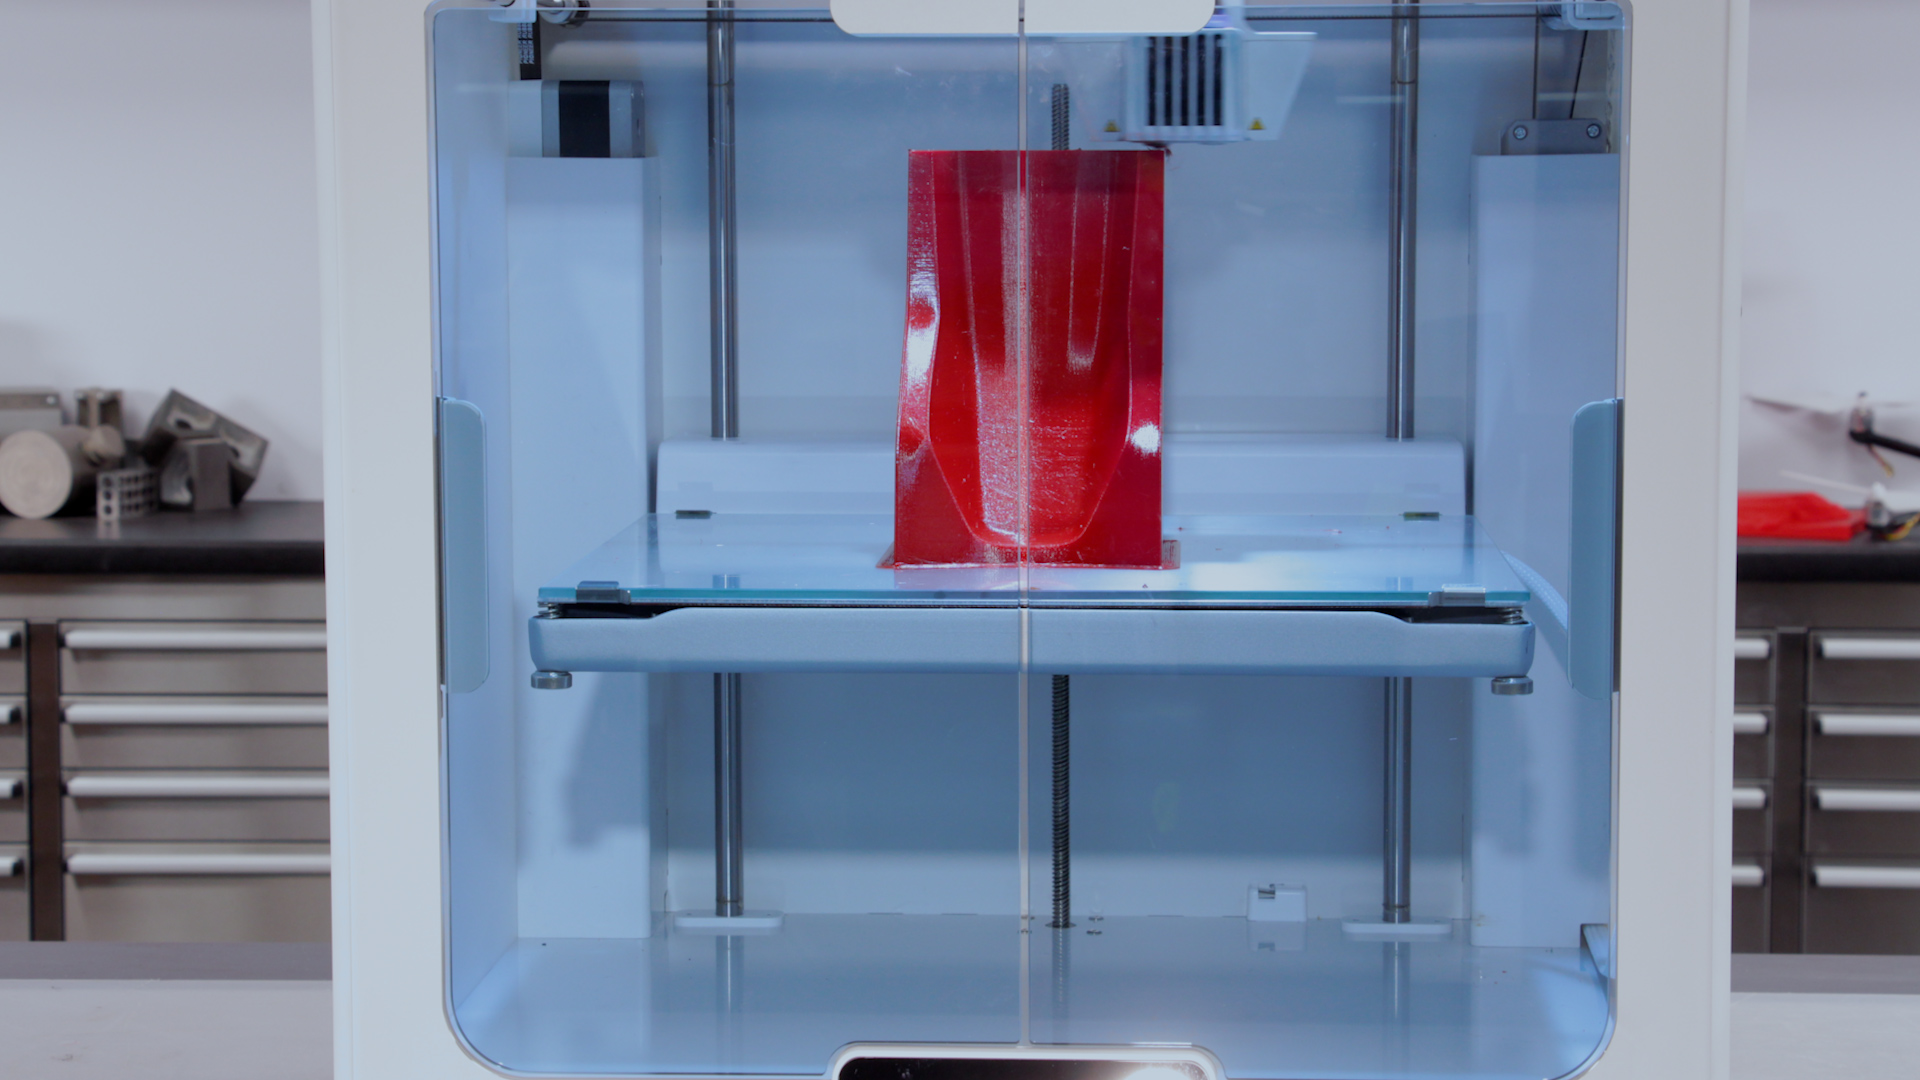
Design and 3D print your mold with any flanges or extensions required to aid in the layup. We suggest using PET-G for directly printed molds due to its reliable release properties. Printing at a higher resolution will provide a smoother mold surface that is easier to release from. For this project we printed with ‘standard’ CURA Slicer settings with a 0.15mm layer height. If possible, orient the part so that the layers are printed parallel to the direction of release of the part, this will reduce the mechanical lock presented by the print surface. That being said, as long as you have a draft-angle of 5deg or greater you can still get a good release, even if the layer-lines are perpendicular to the release direction.
For larger molds, BigRep 3D Printers provide build volumes up to 1m3, or your design can be printed in sections and then bonded together with an appropriate adhesive. Although, PET-G may have some bonding issues due to its release properties.
2. Apply the Release Agent
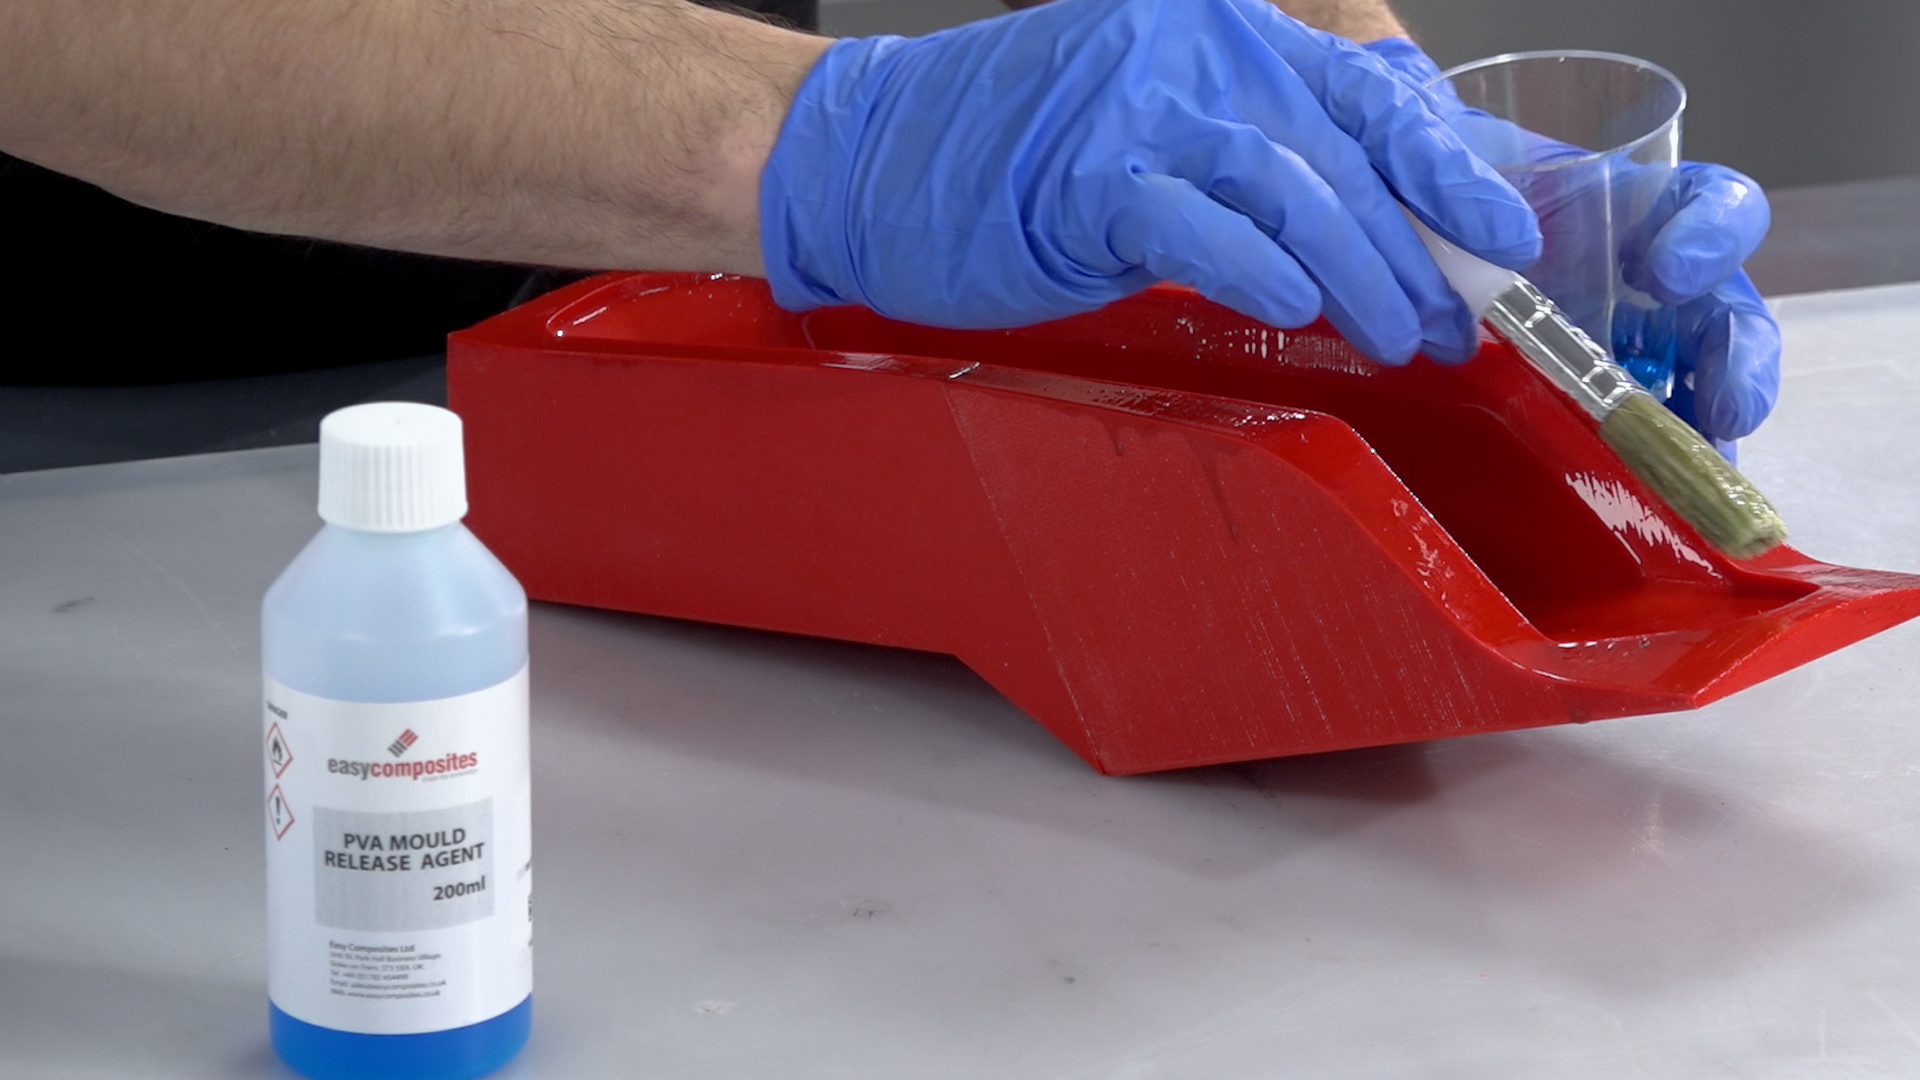
Although PET-G will offer an inherent release with epoxy resins a release agent is still required to ensure that the part will separate from the mold. We recommend PVA release agent, as it offers a very fast and reliable release in this process. PVA is applied in a single coat either by wiping or brushing an even film over the mold surface. This coating should be liberal but not so thick that it causes runs. Once applied, the PVA release agent should be allowed to dry as room temperature, typically this will take around 30 minutes.
3. Laminate the Part
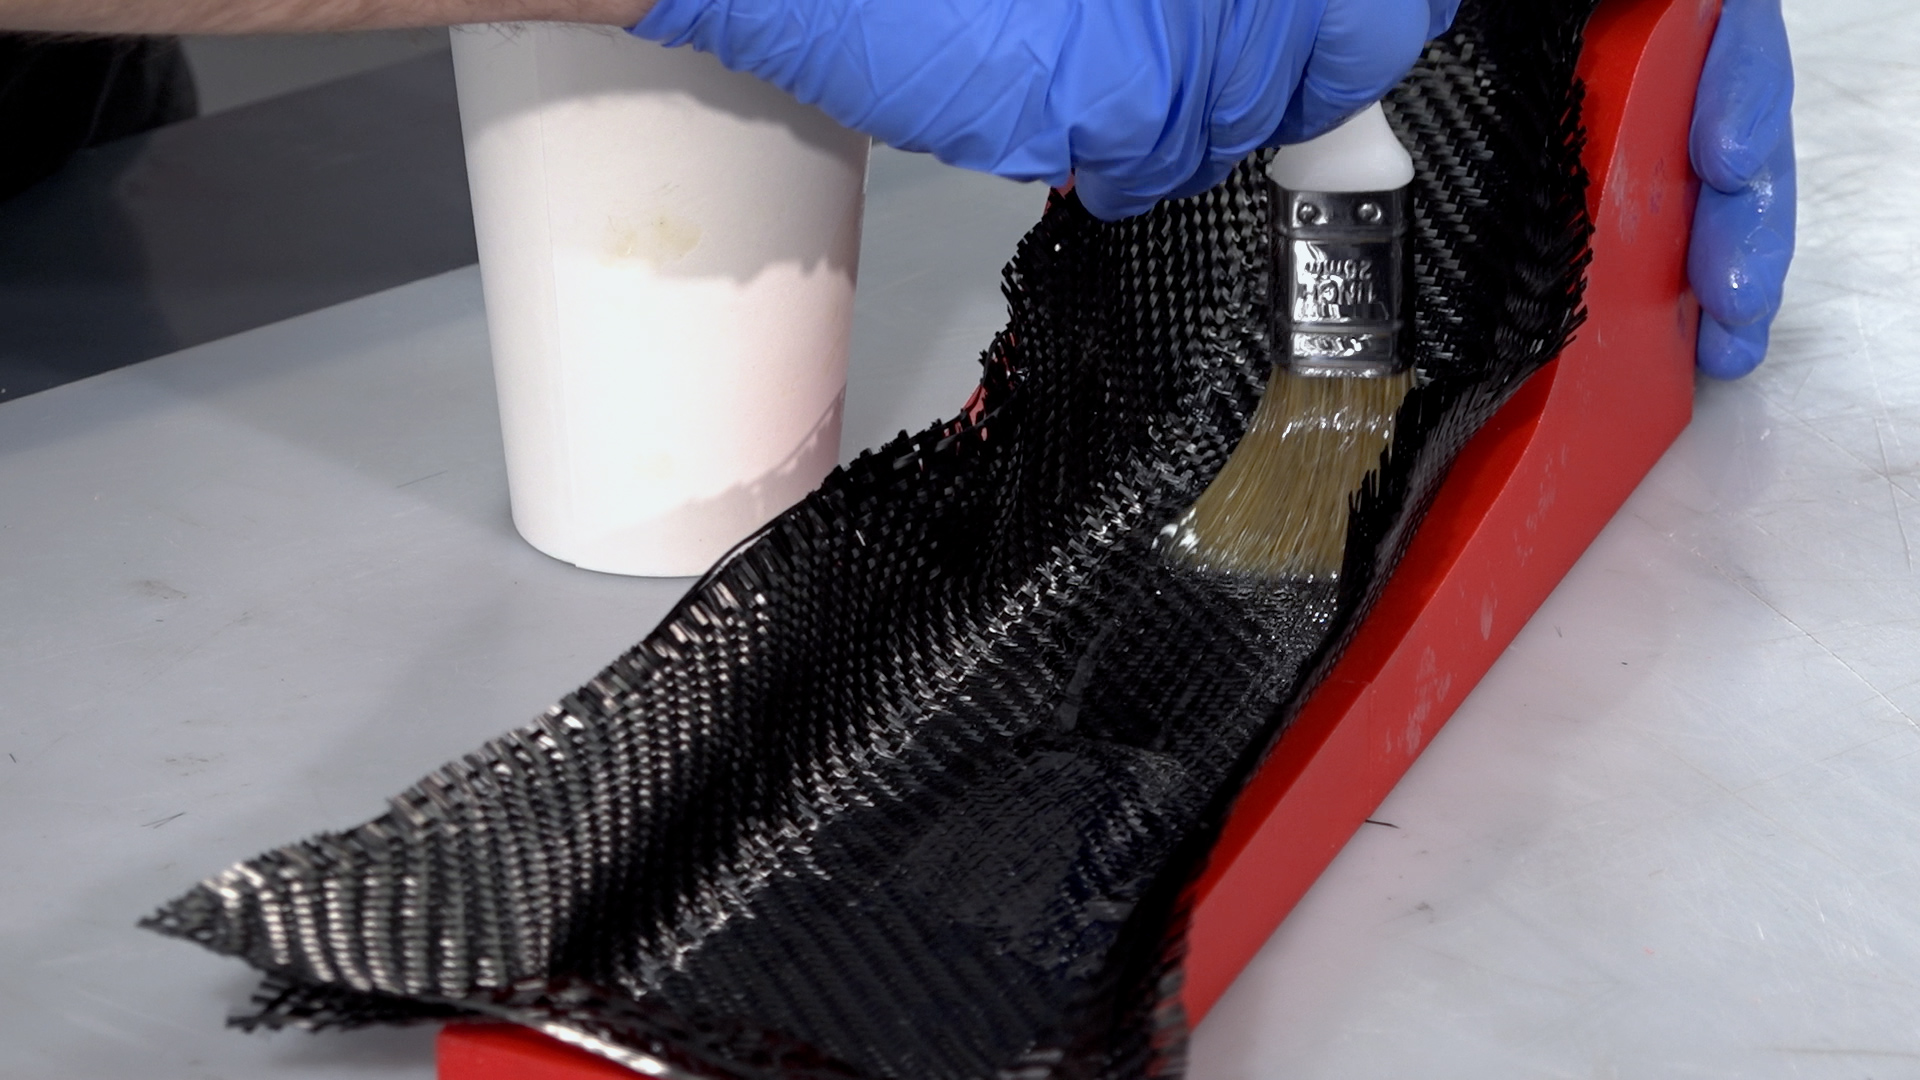
For this project, we are using the EL2 laminating resin. Be sure to accurately and thoroughly mix the resin with its hardener. It is best practice to pour from the first container into a second and mix again to ensure there is no unmixed resin.
Before laying the carbon, the mold should be coated in a film of resin. When hand laminating you should, wherever possible, lay the carbon onto the resin and wet out the fabric with resin from underneath. This will help to ensure proper wet-out and will reduce air entrapment. For small intricate parts, a laminating brush will be needed but for larger or flatter moldings, a roller or squeegee can aid the wetting out. For a wet lay-up you are typically aiming for a fibre to resin fraction of 1:1 so for every 100g of fibre you will use approximately 100g of resin.
With parts 3mm thick or less, it is usually possible to laminate all of the layers in one single operation. For thicker parts, it may be necessary to divide the layup into multiple laminations to reduce the effects of shrinkage and the possibility of a thermal runaway or ‘exotherm’.
On this project, after the reinforcement is laid, a layer of peel-ply is used as a final ply to create a neat finish on the inside of the part, which also provides a good surface for subsequent bonding operations. With the peel-ply laminated, the part can then be left to cure at ambient temperature. Cure times will vary depending upon the hardener speed and the room temperature but will typically range between 12 and 48hrs.
CAUTION: Do not leave the mixed EL2 resin in the bottom of the mixing cup if deeper than 5mm. This can undergo a thermal runaway which can be potentially dangerous. Excess resin should be poured into a tray to increase the surface area and/or the container should be moved to a safe outdoor location in case of overheating.
4. Trim
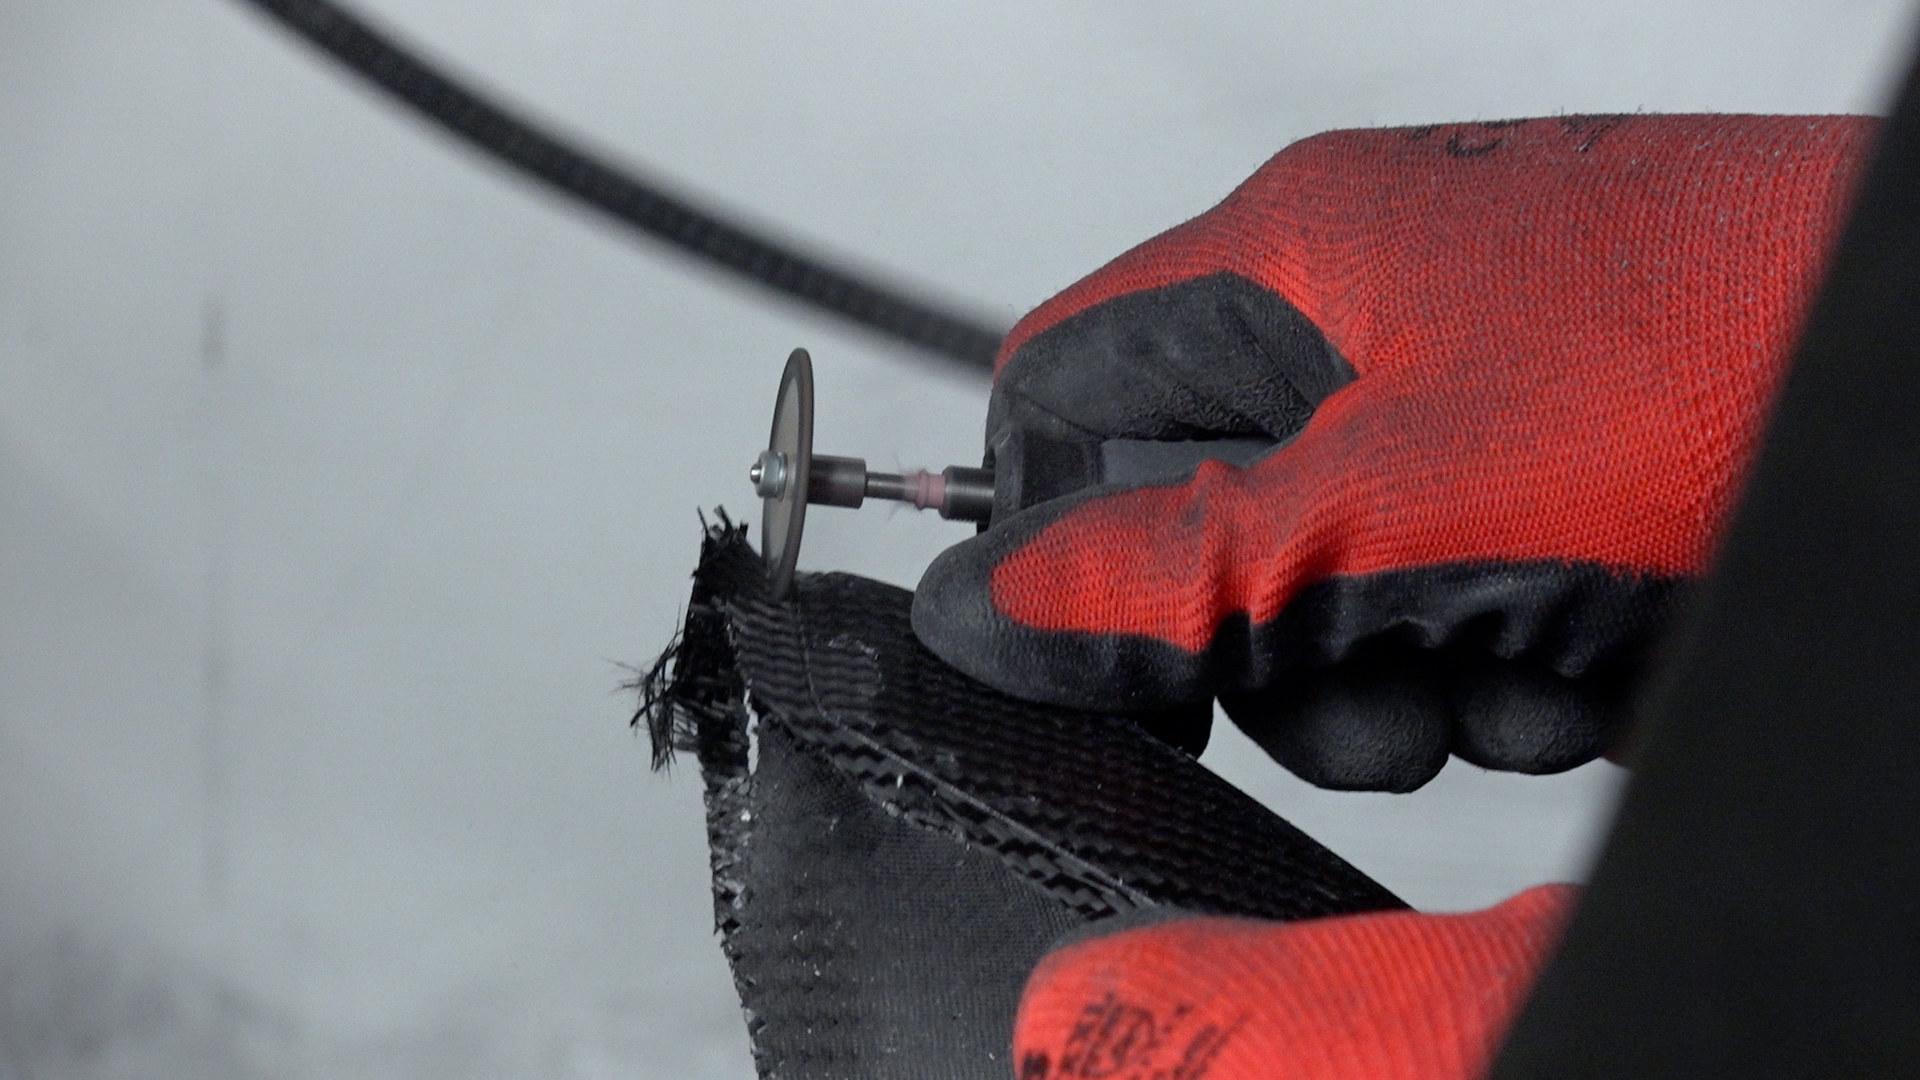
After demolding, trim and finish to give a clean edge to the part. For our project, we used a Dremel type tool fitted with a 32mm Permagrit cut-off wheel which is an excellent all-round trimming tool and lasts for hours of continuous use. The edges were trued up using a sanding block and finished with 240grit paper. If you are happy with the results as left by the XCR coating, the part could be used as is but generally, sanding and polishing the part would be preferred as it will leave a more consistent and professional finish.
5. Prepare the Surface for Coating
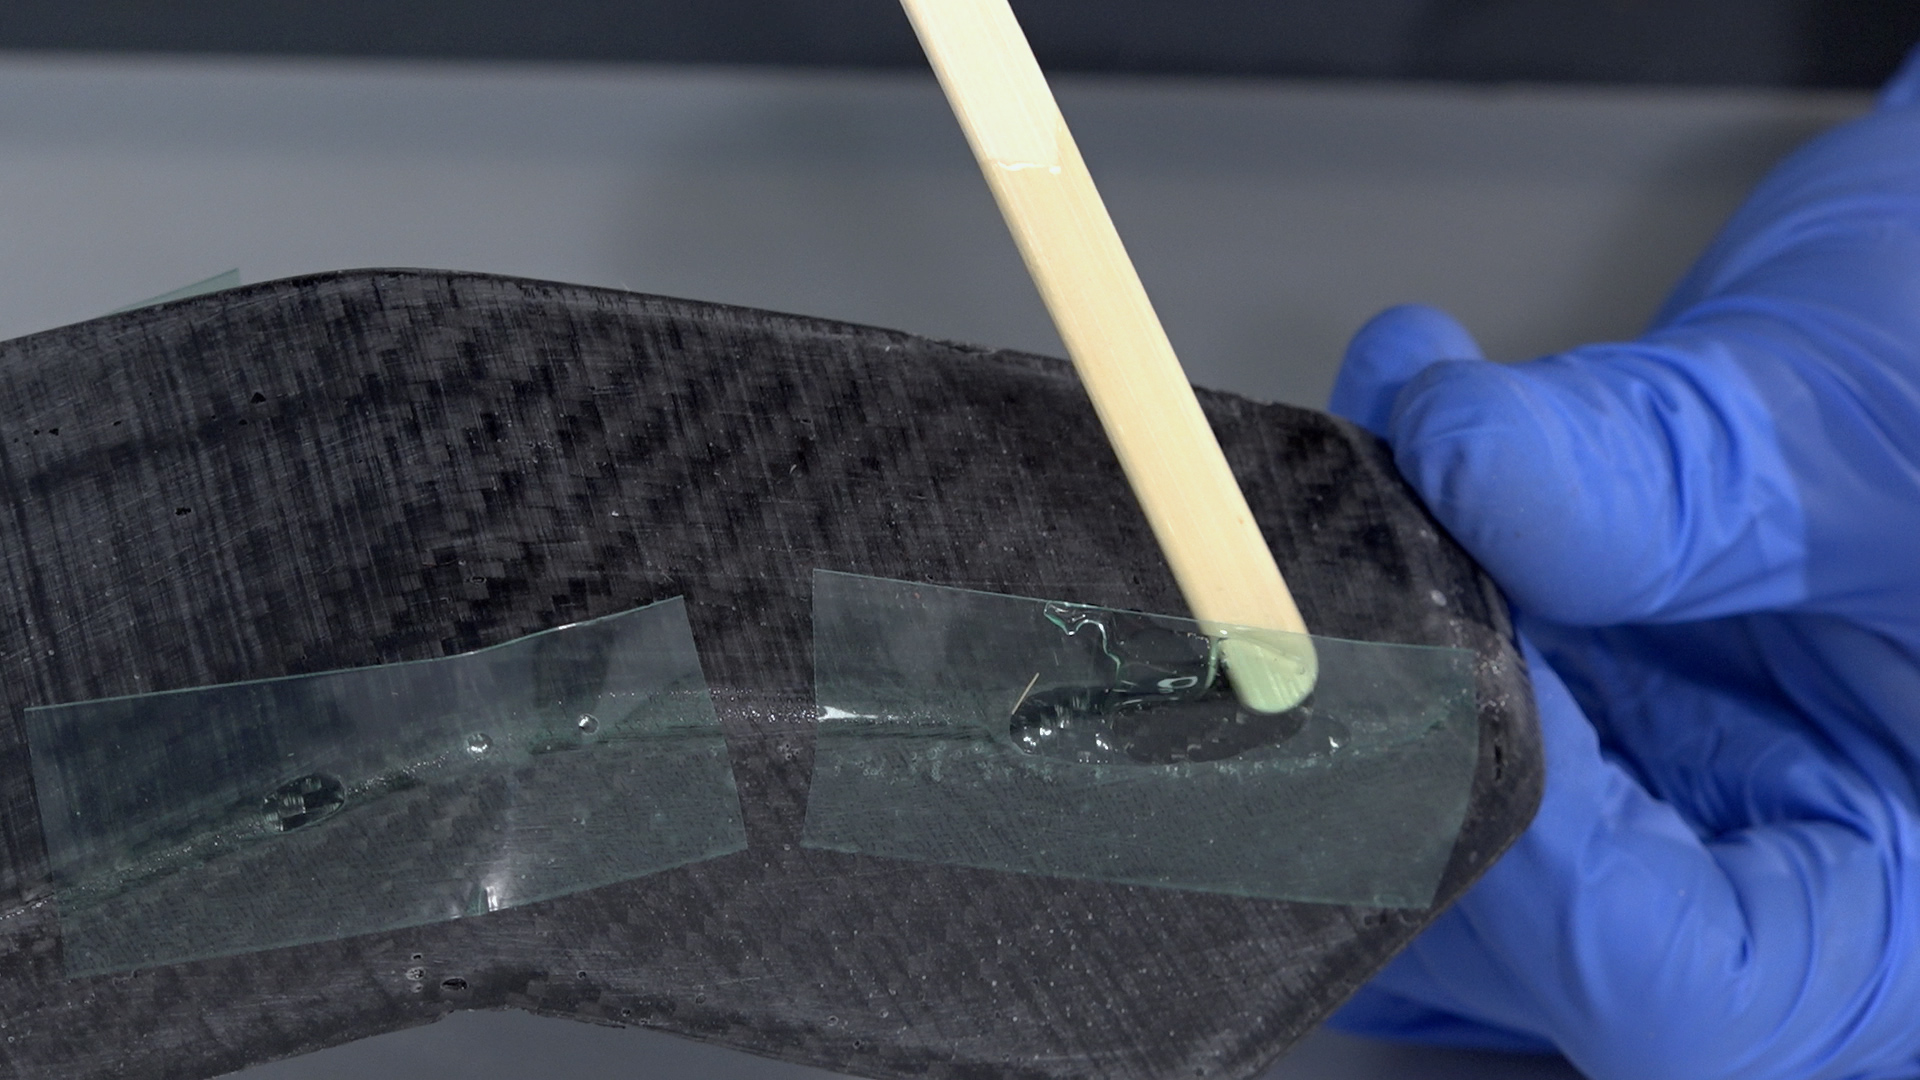
In order to achieve a good cosmetic finish without pinholes and print layer-lines, the part can be coated with a resin or clear-coat. To prepare the part, the surface will need to be abraded with 400grit wet and dry sandpaper to provide a good key for the coating.
If your part has any voids or large pinholes, use resin to fill them. For larger voids, a dam created from flash release tape can help to hold the resin back from running out, then use either the EL2 laminating resin or the XCR coating resin to fill it. After the repairs have been made, they should be left to cure and then sanded back in flat with 400grit paper to level with the surface of the part.
6. Coat with XCR Coating Resin
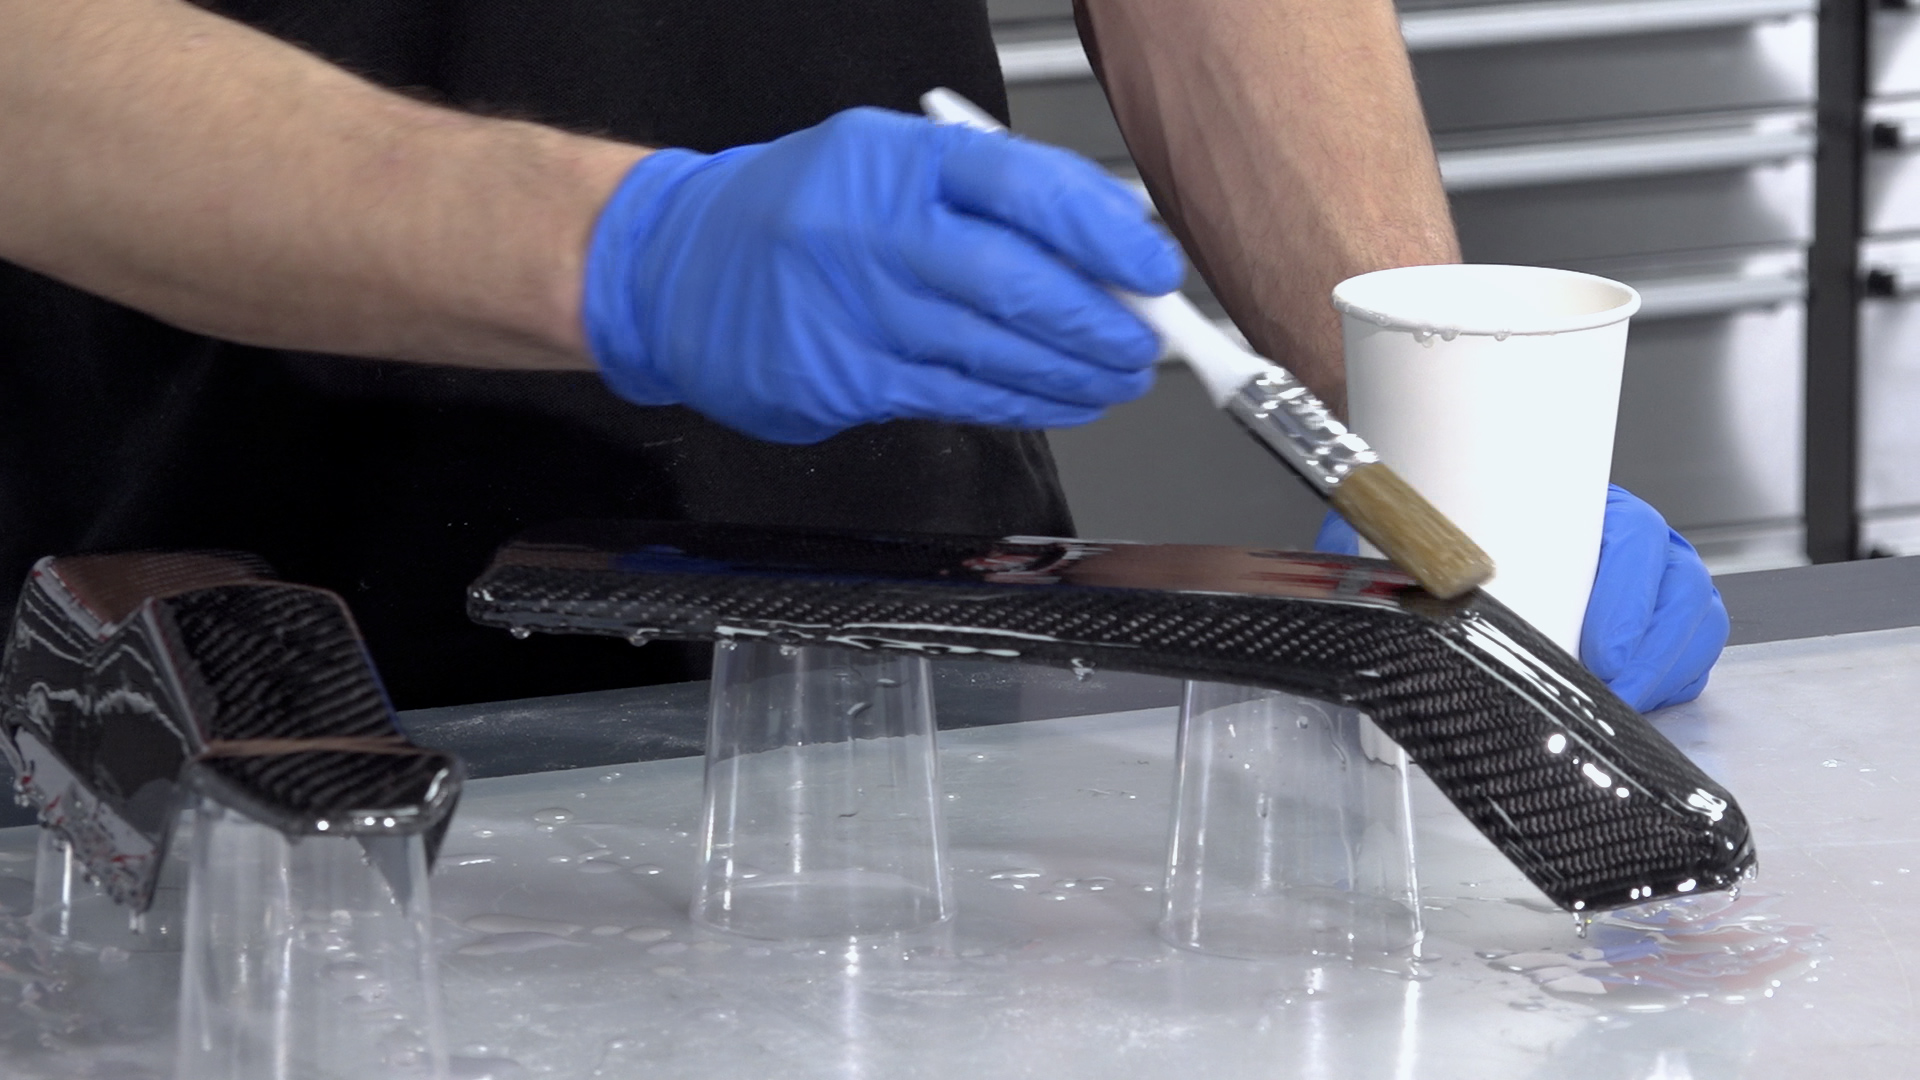
With the part fixed and sanded, it can now be coated to provide a smooth glossy and durable finish. It is possible to use a clear-coat automotive spray but for this but in this project, we are using the XCR coating resin which will provide a very durable finish and can easily be applied with a brush.
Coat your part in XCR epoxy coating resin—typically around 300 grams per square meter for each coat. Plan on mixing more than is needed to allow for wastage in mixing cups, brushes, etc. The hardener should be added to the resin in the exact ratio of 100:35, as accurately as possible for small batches of resin scales (within one-tenth of a gram accuracy will help). Mix the resin in one cup, then transfer to a second cup and mix again to ensure that there is no unmixed resin trapped.
Use a brush to apply a thin, even coat over the surface. Do not overload the surface as this will lead to runs in the coating. After applying the coat, check a few minutes later for any runs, removing any excess resin a brush.
Depending upon the finish left by the first coat, as second may be required if any of the surface irregularity has not been covered. The second coat should be applied when the first has reached the B-stage. You can identify the B-stage by touching your print with a gloved finger, it should be tacky but leave no residue, typically around three hours for the XCR, but may vary depending upon room temperature. After your second application the resin should be left to fully cure, about 12–24 hours depending upon temperature.
CAUTION: Do not leave the mixed XCR resin in the bottom of the mixing cup if deeper that 5mm. This can undergo a thermal runaway, which will potentially be hazardous. Excess resin should be poured into a tray to increase the surface area and/or the container should be moved to a safe outdoor location in case of overheating.
7. Sand & Polish
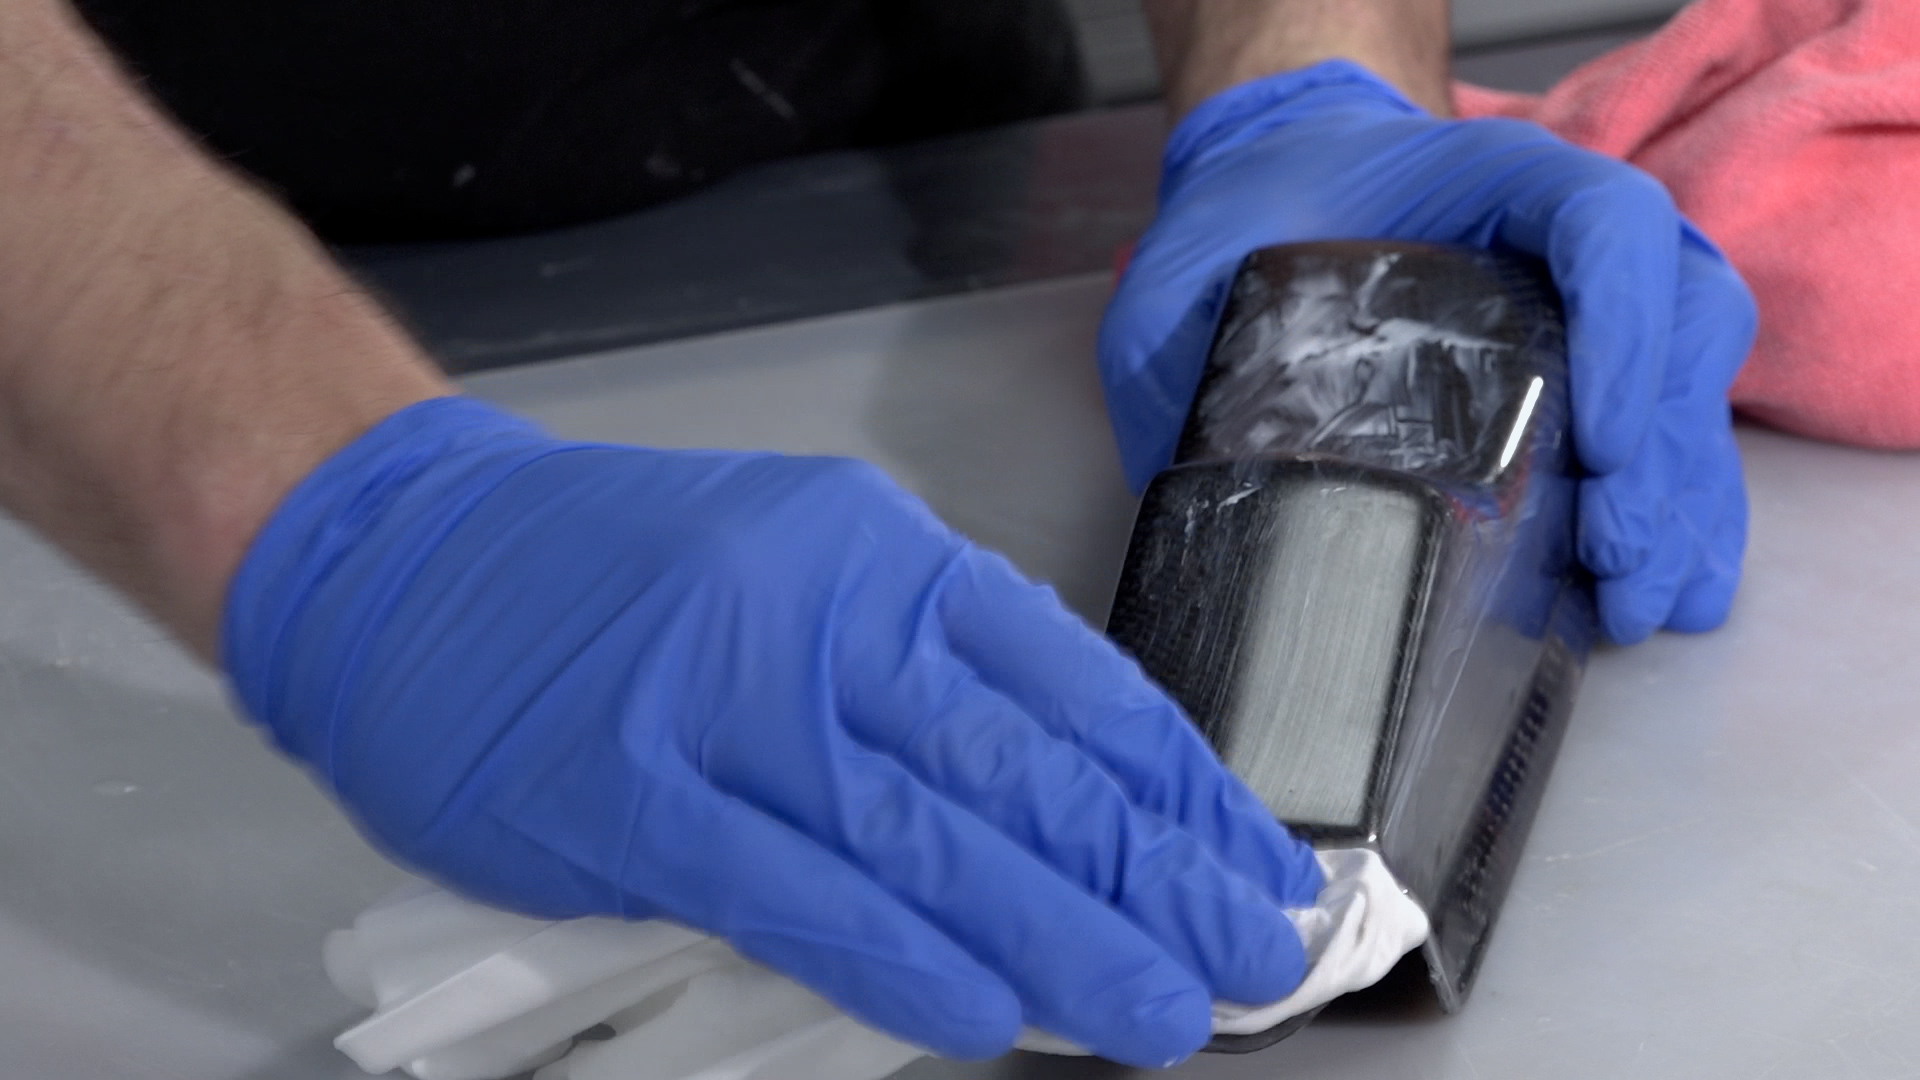
If you are happy with the results as left by the XCR coating, the part could be used as is but generally, sanding and polishing the part would be preferred as it will leave a more consistent and professional finish.
The sanding process should start with the finest grade of paper that can be used to quickly flatten down the surface—generally either 400 or 800 grit wet and dry. This is best done wet to prevent the paper from clogging, and the grades should be worked through to a minimum of 1200 grit. Use a sanding block for flat areas and single curvatures to maintain an even, flat face and the paper along can be used for the remaining curved areas. Whenever changing to a finer grade of abrasive, clean the pattern and change the water to prevent scratches from particles of the previous grade.
After the 1200 grit (or finer), continue with the final polish using the NW1 polishing compound. Unless your part is very small, this is best done with a foam pad on a polishing machine.
Unlike many compounds, the NW1 does not need water and does not quickly dry out. This particular compound is self-diminishing—the more you work it, the finer it gets. You should be able to achieve a full mirror polish in one step. Once buffed, the last residue of the compound can be wiped away with a microfiber cloth, which should reveal a mirror-like polish on your finished pattern.
8. Final Part
