Categories
Healthcare Manufacturing

Optimized Orthopedic Aids Created With SmartSlice for Cura

Validate Service Performance Using Intelligent Software

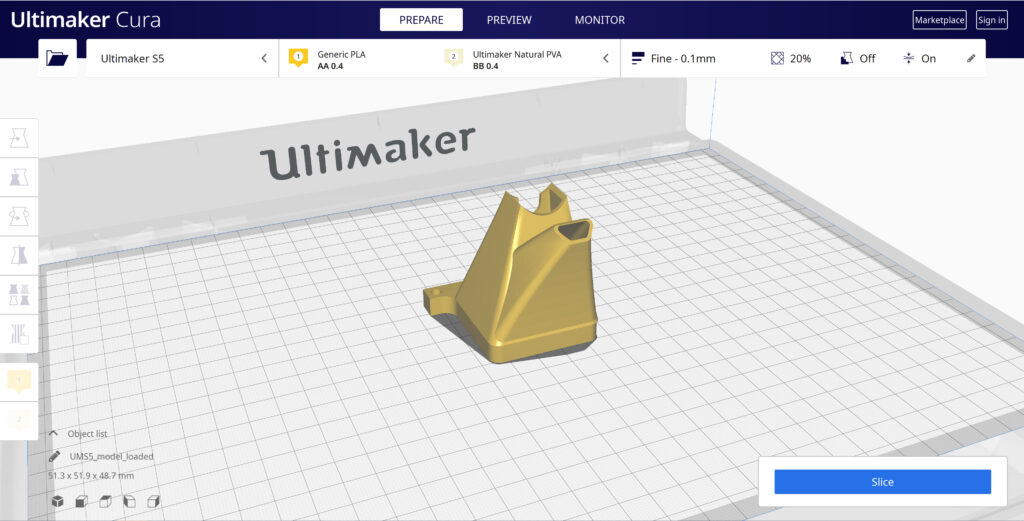
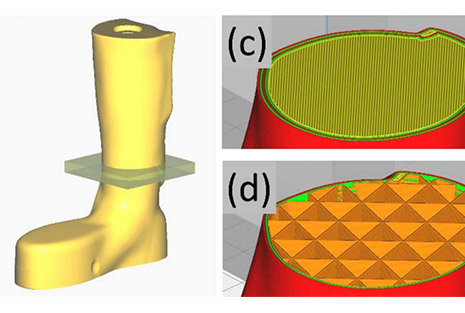
By integrating SmartSlice for Cura software into their current production process, adViva was able to save print time and materials, while improving the overall strength of their final mold. This unique piece of software uses Finite Element Analysis to validate slicing settings and selected material, while simulating forces that a part will encounter during usage. Download the case study now to learn their process of custom prosthetic generation, which details how they were able to:

  • Increase throughput utilizing existing equipment
  • Save 50 days of print time throughout a year-long cycle
  • Reduce material usage by over 13 kilograms in a year
  • More…
Categories
3D Printing

Slicing A Model File With Cura

General Overview

Cura and other slicing programs transform a CAD model (STL, OBJ, 3MF) into a set of machine instructions that tell your printer how to create your model. There are hundreds of settings that you can control within Cura. Everything from layer height, speed, fan settings, acceleration, jerk etc. Cura comes with pre-made profiles for ease of use and to ensure quality, and it is highly recommended starting with these for all of your prints.

In this support article, we will cover everything you need to know in order to get a print up and running using Ultimakers Cura Software.


Download and Install

Cura is available for Windows, Mac OSX, and Linux operating systems. Ultimaker updates Cura on a regular basis, so be sure to check back for the latest free updates. You can find the most recent version available for download here. After installing the program appropriate for your Operating System, launch the program to prepare your file.


Machine Addition and Selection

After launching the program, you will be prompted to select a machine. In this walkthrough, we will be using the Ultimaker S5. If you are using another Ultimaker product, please ensure to select that machine that corresponds with your product.

Should you ever need to add a new machine for slicing, you can gain access to this same menu by going to the top menu of Cura and going to settings > printer > add printer.


Print cores are compatible with specific material combinations, and it is important to have these properly selected each time you slice a model file.

At the top of the main Cura prepare screen, you will see which current materials and print cores you have selected. Clicking the drop-down arrow on the right hand side will allow you to change the cores as desired.

NOTE: If you have an incompatible material with your print core, a red box will appear and prevent you from slicing your file.


Loading Model and Print Orientation

You can load your print model in one of three ways:

  • In the top left corner, go to File > Open File(s) > Select Model File.
  • In the top left, you will see an “Open File” icon.
  • You can drag and drop your model file onto the build platform representation.

After your model has been loaded onto the platform, you will want to consider how to position it for ideal printing. In general, you will want a flat surface on the build plate to help with adhesion whenever possible.


Quick Profile Options

When first starting with your 3D printing journey, you will want to remain within the recommended settings as provided within Cura. These settings will help ensure reliability and quality for the vast majority of models you will print.

  • The Profiles section will allow you to set layer height based upon different factors such as visual look, engineering quality, or draft settings.
  • The Infill (%) section will allow you to determine how solid your model file is. 10-20% is perfectly fine for most non-load-bearing components.
  • Gradual Infill option will print your object with less infill lower down in the model and increase as the object prints to help support the upper skin of the print.
  • Support generates support structures to help your object print overhangs and steep angles. A general rule of thumb is your printer will not require supports if your model is between 45 and 90 degrees of the build plate.
  • Adhesion is turned on by default for most profiles and helps secure your object to the build plate. It does this by increasing your objects footprint, by printing lines around the base of your object.

Generate and Print Your File

After you have your model positioned and changed any settings you desire for your application, it is time to generate the print file and get it to your printer. The process of generating your machine directions is called “slicing” as it cuts your model into slices to generate the code.

Slicing Your Model File

  • Automatic Slicing can be enabled through Preferences > Configure Cura > Enable Automatic Slicing. When enabled, Cura will automatically begin to slice your model after each setting change. This can be an intensive load on your computer and is recommended to disable this for older computers.
  • When “Enable Automatic Slicing” is disabled, Cura will wait to generate your file until you select “Slice” from the lower right-hand corner.

Printing Your File

Ultimaker provides a direct printing option via USB or allows you to send your print file over the network.

  • Printing via USB will require you to save your print file to the piece of hardware, and manually insert it into your printer. Once inserted, you will be able to select and start your print file from the user interface on your printer.
  • Printing over network requires you to sign into your Cura connect account, and you can then send the print file directly to your machine. This can then be started through the user interface on the panel or through Cura connect interface within Cura.