Inside Formlabs’ R&D Workflow: Combining SLA 3D Printing with the Mayku Multiplier for Faster, Scalable Product Development
Time is one of the most valuable resources for research and development teams. Whether you’re prototyping a new component or preparing for low-volume production, the goal is always the same: to find the most efficient path to a working solution without compromising quality. That’s where hybrid manufacturing comes in.
By combining SLA 3D printing with pressure forming, companies like Formlabs are unlocking faster, more flexible ways to build, iterate, and scale.
What Is Hybrid Manufacturing?
Hybrid manufacturing refers to the integration of multiple fabrication technologies such as combining resin-based SLA 3D printing with desktop pressure forming into a single workflow. While 3D printing is ideal for rapid prototyping and custom part production, pairing it with pressure forming allows teams to move seamlessly into short-run production using durable, functional materials.
This powerful combination reduces turnaround times, lowers production costs, and improves surface finish and part performance making it especially valuable for engineering teams transitioning from prototypes to real-world applications.
Why Formlabs Combines SLA Printing and Pressure Forming
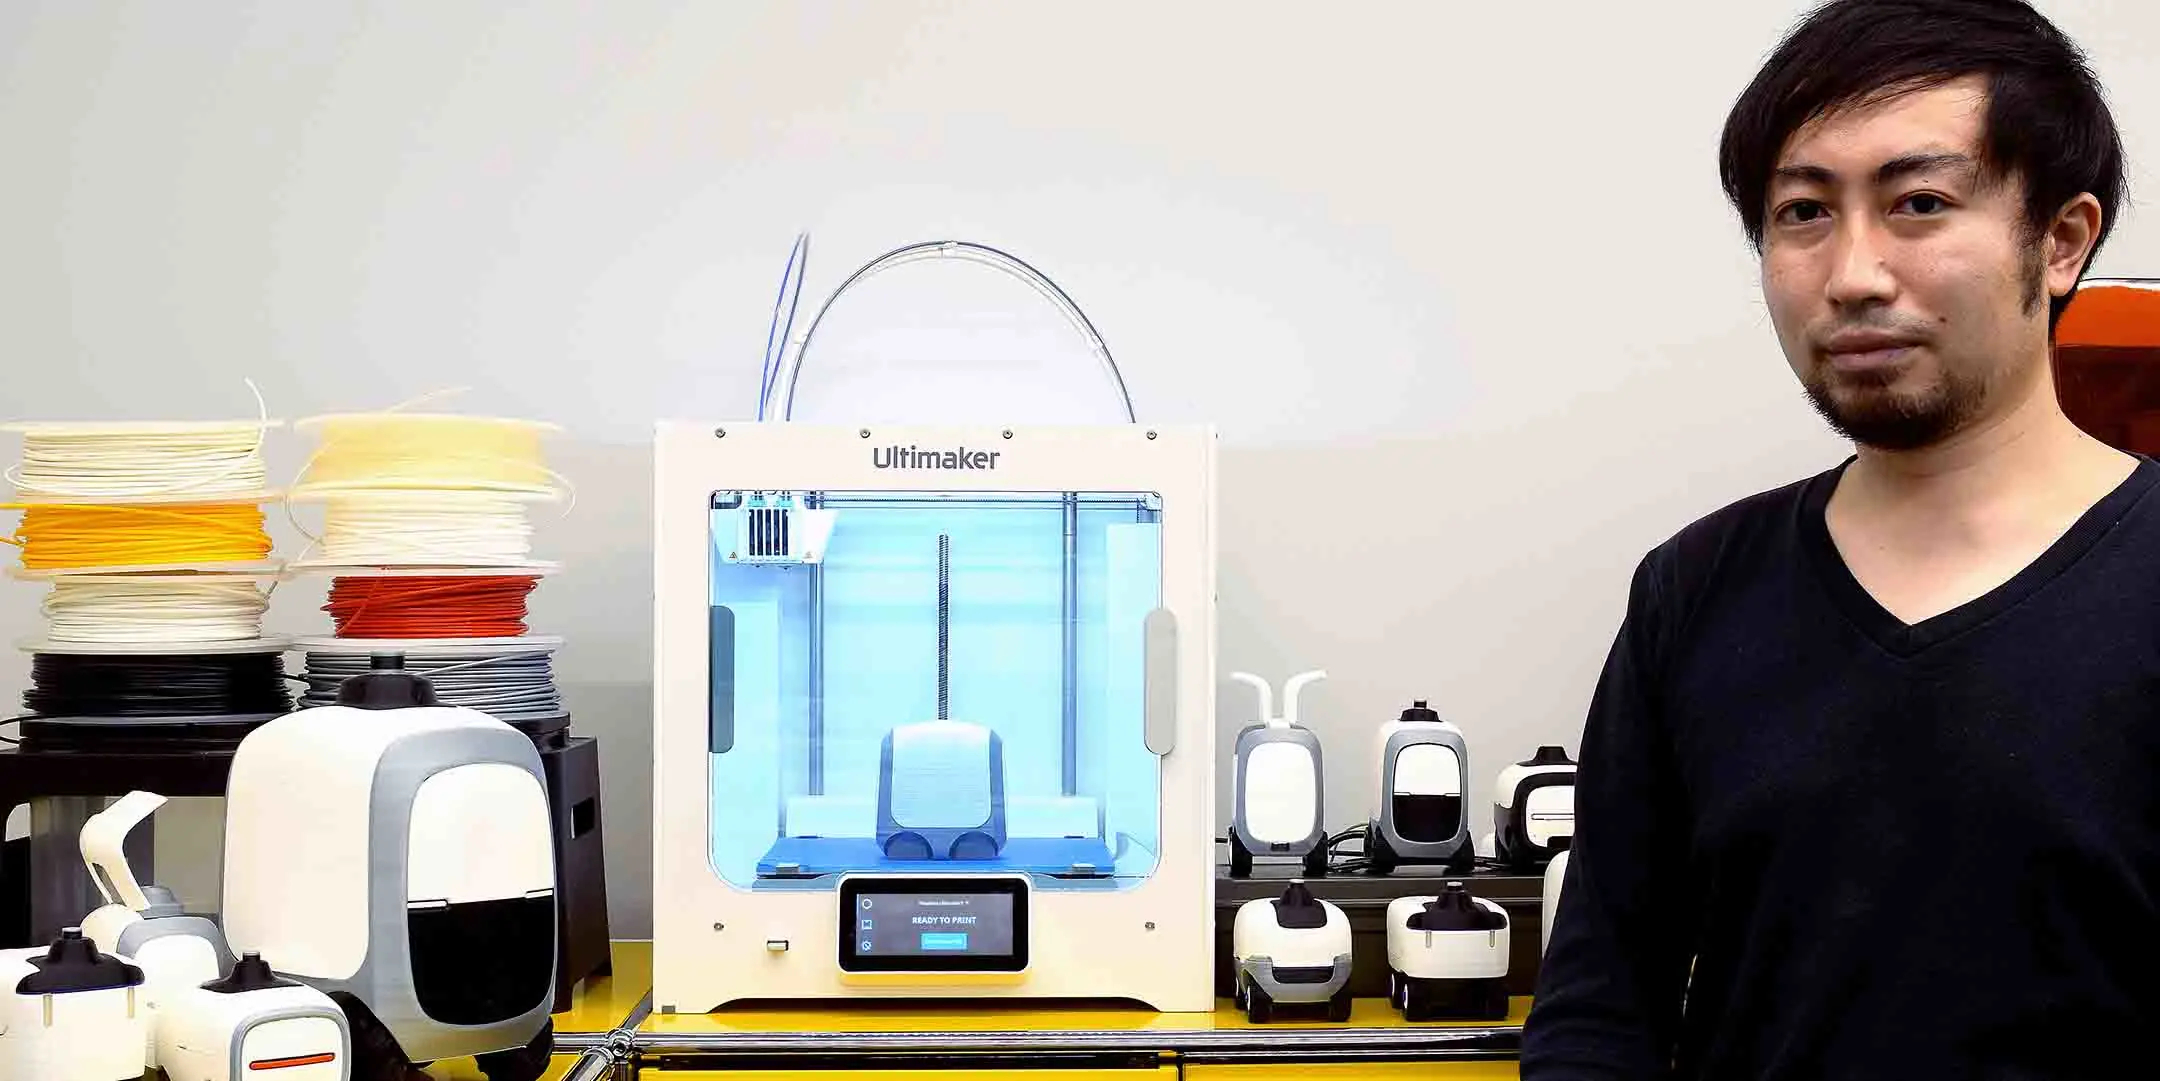
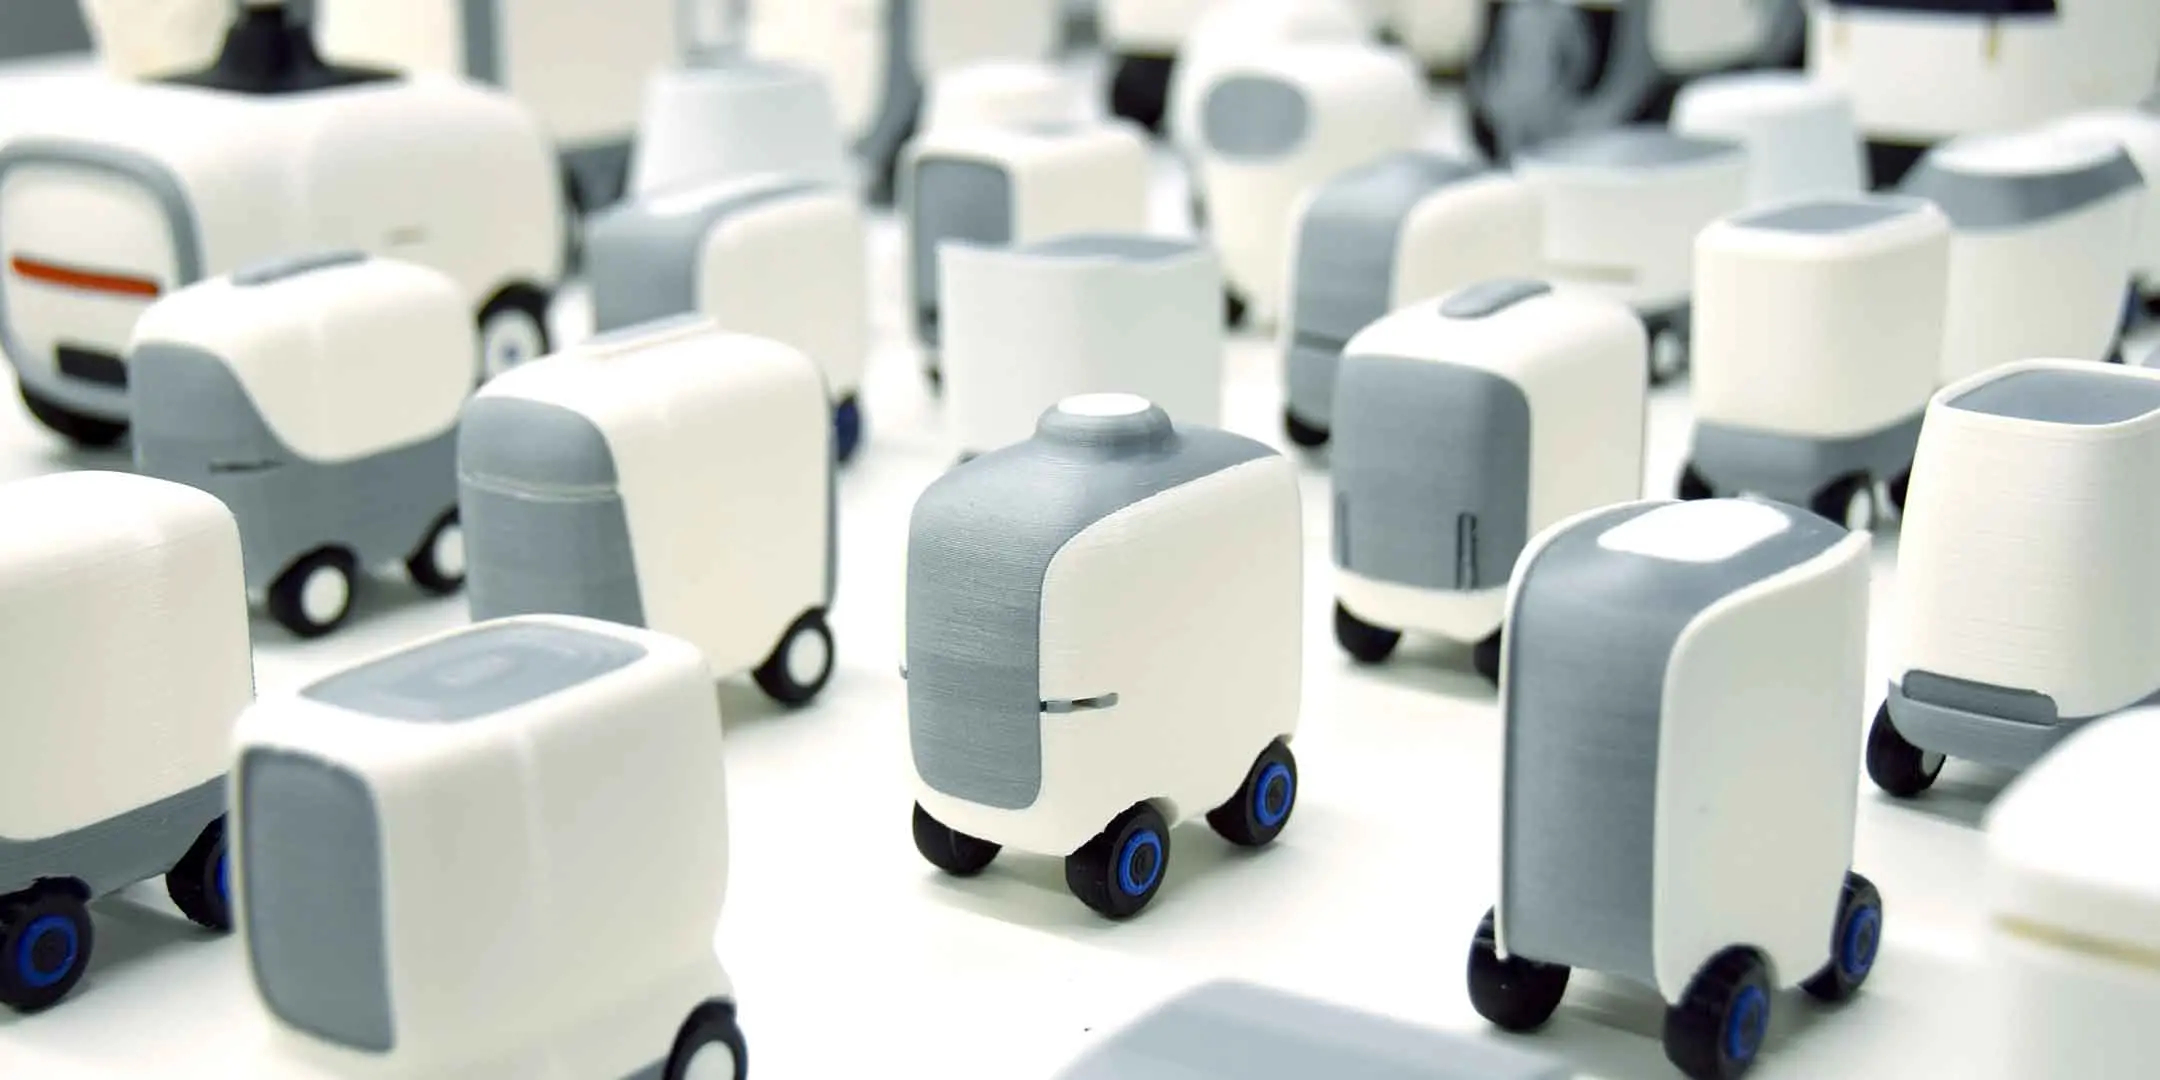
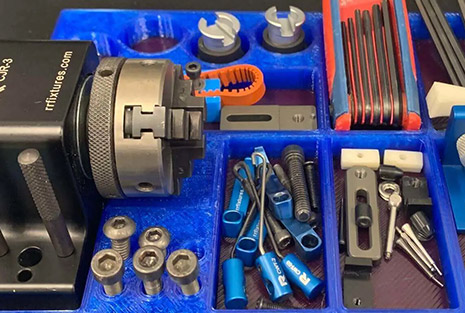
Formlabs, a global leader in professional desktop 3D printing, doesn’t just sell cutting-edge technology, they use it. Inside their Boston-based headquarters, Formlabs’ R&D team relies on hybrid manufacturing to prototype, test, and produce parts entirely in-house.
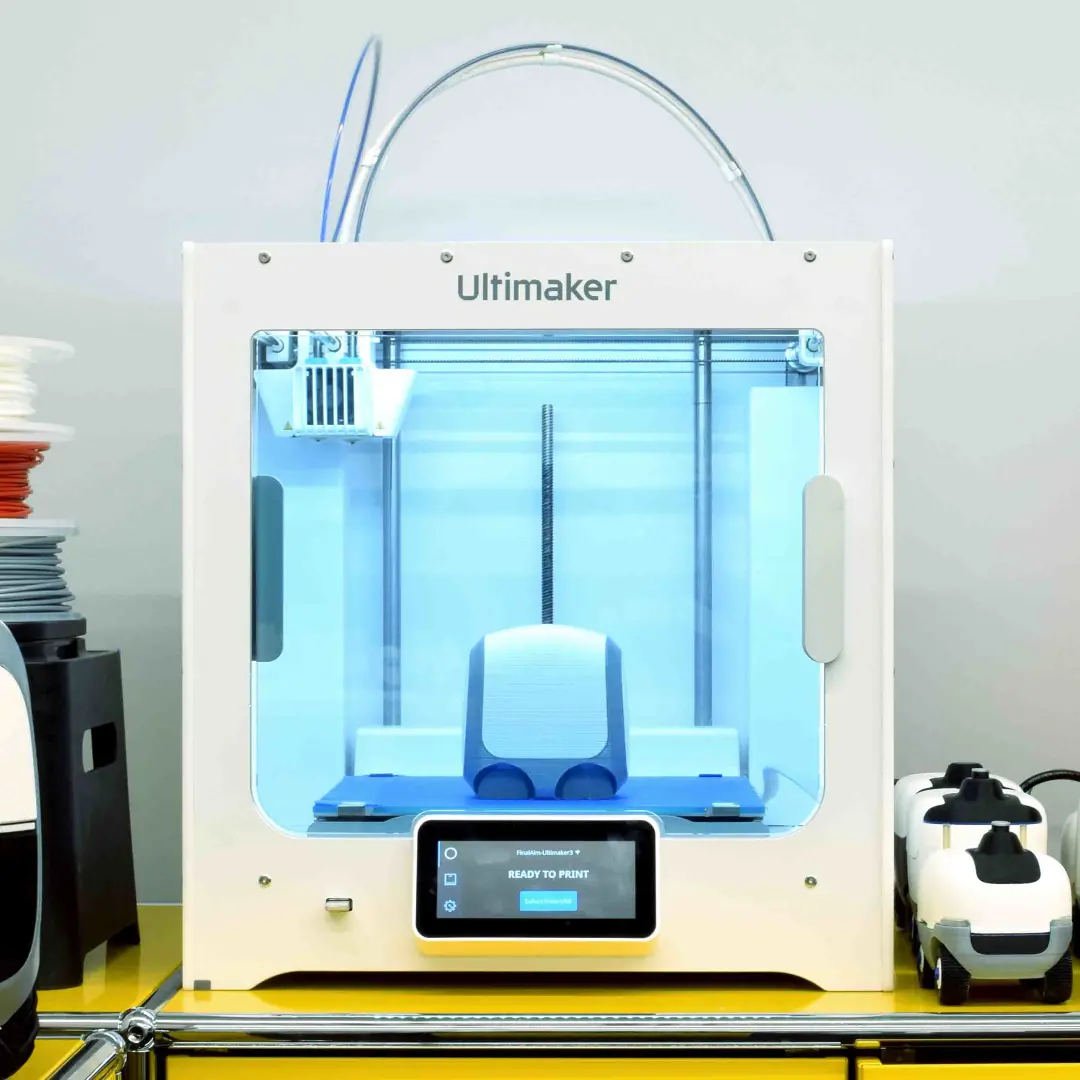
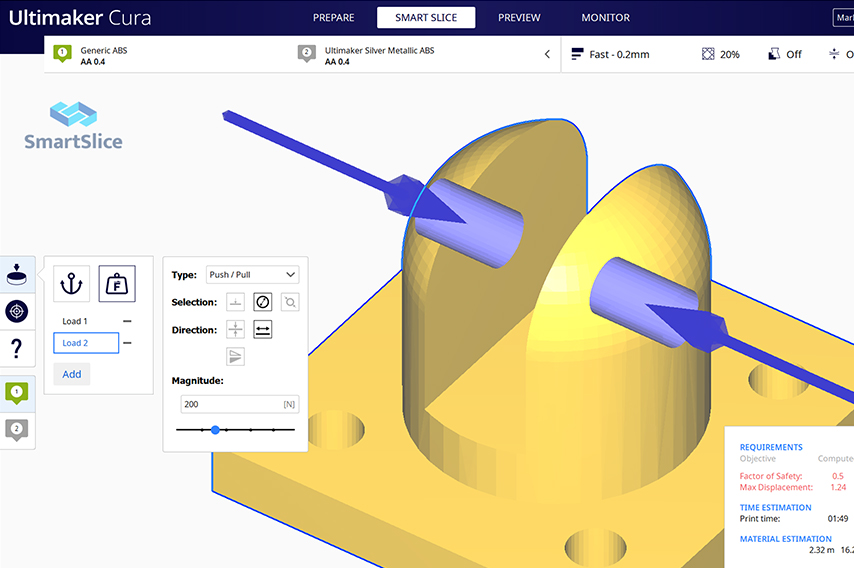
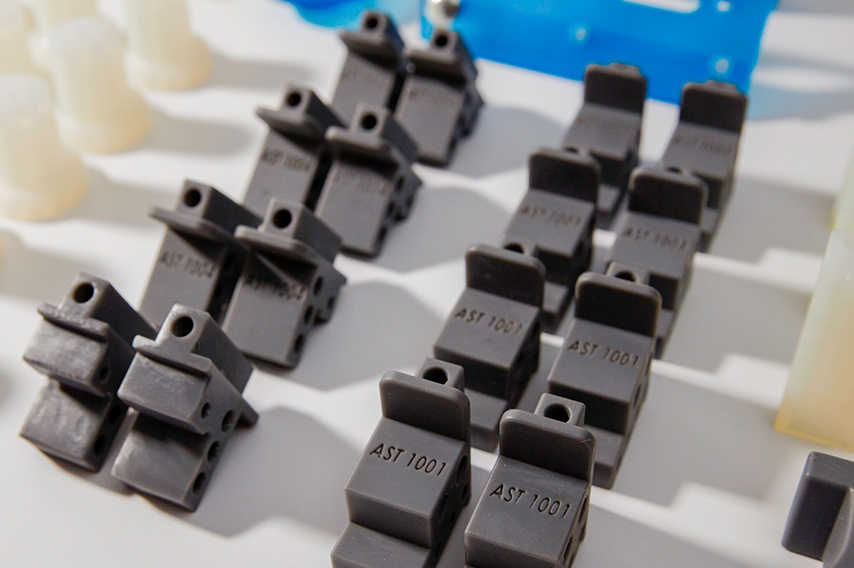
Their full-stack machine shop includes CNC machining, laser cutting, casting, and SLA 3D printers, all of which empower engineers to maintain complete control over the product development cycle. By integrating the Mayku Multiplier, a compact desktop pressure former, into their workflow, Formlabs has dramatically increased both the speed and scalability of their prototyping process.
The Power of the Mayku Multiplier in Formlabs’ Workflow
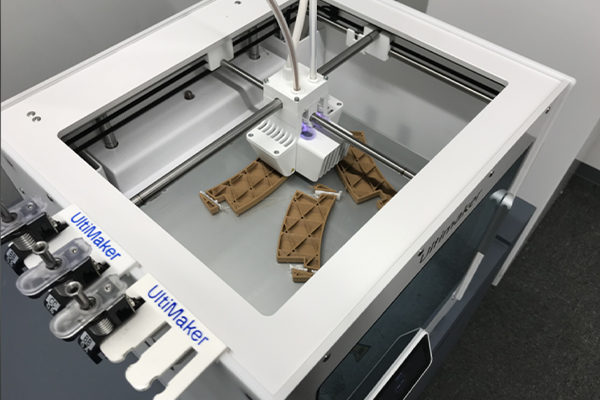
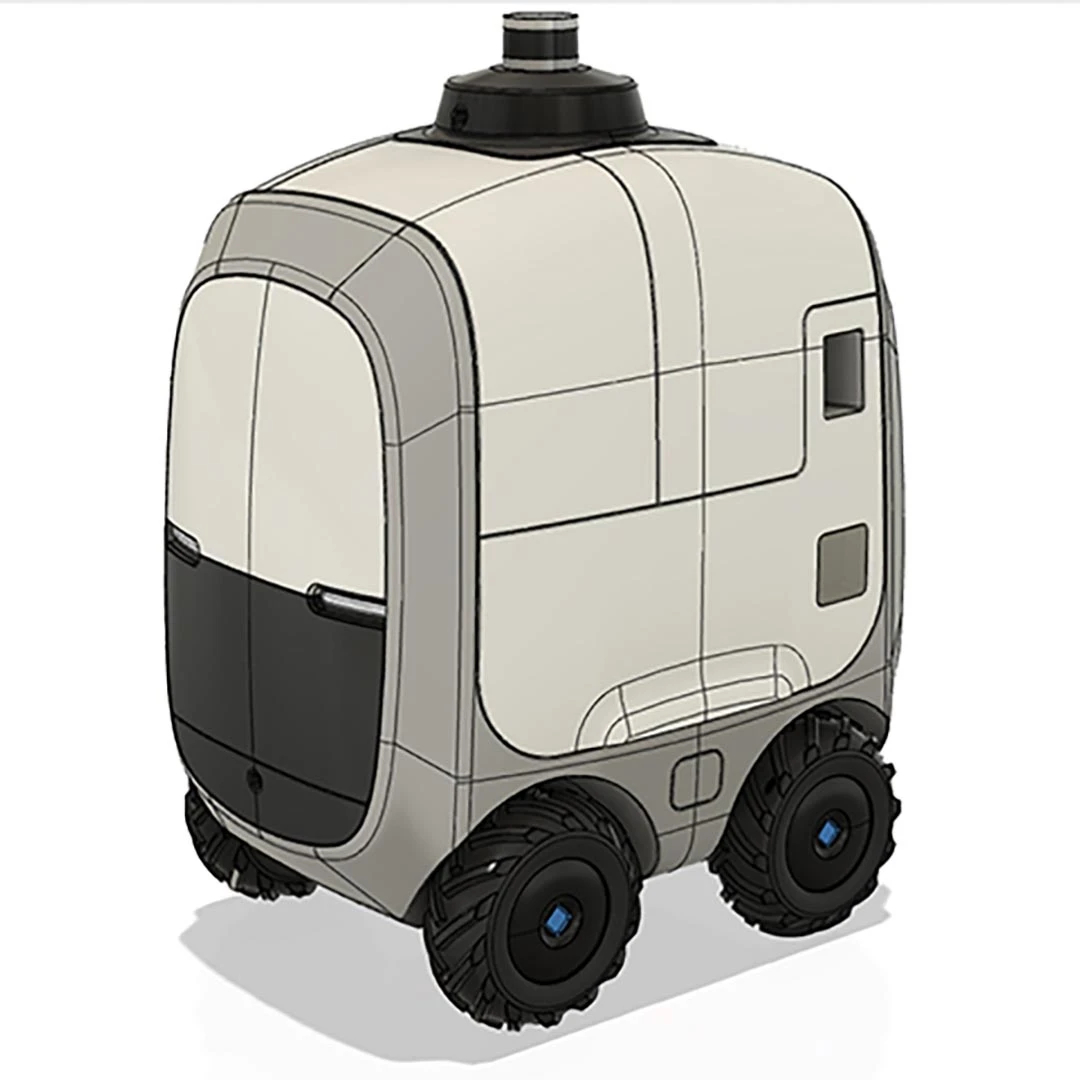
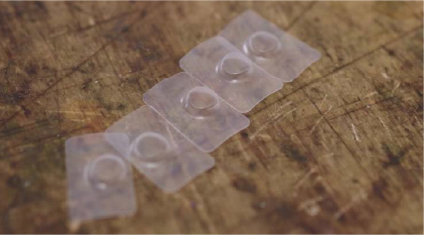
A standout example of this approach was the development of a protective IR sensor cover for the new Form 4 printer. The part needed to be both durable and precisely formed to prevent resin leaks that could damage sensitive components.
To solve the challenge, the Formlabs team used their SLA 3D printers to create accurate molds and then leveraged the Mayku Multiplier to pressure-form thermoplastic covers. The result? A functional prototype completed in just days without the need for costly outsourcing or long lead times.
Faster Prototyping With SLA Molds and Pressure Forming
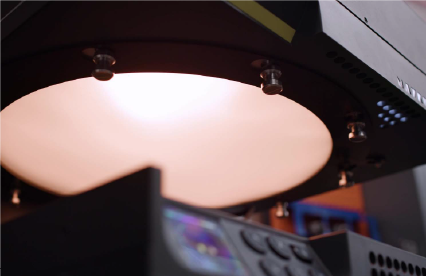
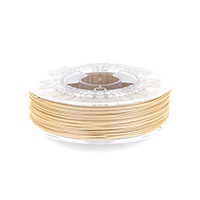
Mayku Multipler heating up material
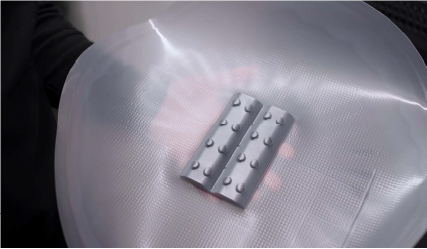
Multiplier pressure formed IR sensor covers on a Formlabs SLA 3D printed mold.
By pairing SLA-printed molds with pressure-formed parts, the Formlabs team rapidly iterated through designs, testing each version in real-world conditions. What would typically take weeks via third-party vendors was completed in-house in a fraction of the time. This hybrid approach turned a traditionally linear process into an agile, feedback-driven workflow.
“Being able to go from idea to prototype in a day or two changes how we work,” said Mechanical Engineer Jennifer Lu. “It lets us test faster, learn faster, and stay focused on building a better product.”
Real-World Results: Same-Day Prototyping With Mayku and Formlabs
The Mayku Multiplier delivered production-quality parts even on intricate geometries making it a reliable tool for daily use. Its ability to form parts quickly and in high detail helped the Formlabs team speed up testing, reduce iteration time, and boost product development velocity.
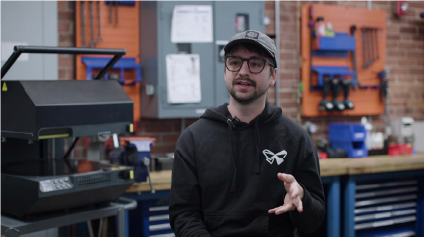
Franko Kosic-Matulic, Machine Shop Coordinator at Formlabs.
The finished pressureformed sensor cover after postprocessing
“We can definitely rely on the Multiplier to give us really high detail and also form quickly and produce a lot of parts,” said Machine Shop Coordinator Franko Kosic-Matulic.
What Hybrid Manufacturing Means for Engineers and Product Developers
The collaboration between Formlabs and Mayku is a compelling example of how hybrid manufacturing can elevate modern product development. By combining SLA 3D printing with pressure forming, engineers gain access to a faster, more repeatable, and cost-effective workflow ideal for prototyping, testing, and small-batch production.
Whether you’re a mechanical engineer, industrial designer, or lab manager, this approach shows how the right combination of tools can transform the way you work.